Welp, who knew building a master bathroom would take so stinkin' long? The parents of 4 kids apparently! Goodness, this is grueling!
Rewind, back to November 2021, when we were acquiring the building permit. My dad had the technical drawings drawn up 11/1 and we got the permit paid for on 11/19. Our third born (T)'s 1st night in Z's room was 10/30 so we officially had a vacated space to build!
Ever since November 2018 we've been in the new master bedroom, with an adjoining room just waiting until we were ready to build it up into it's fullest potential, as a bathroom and not a nursery. T was born in February 2019 and this space served as the perfect place to keep her both close by and in her own little space, although she didn't sleep in there full time until 9/20.
And even further back to what it was before the additions (existing section is in the middle portion):
The "Future Bath" location will be in the area labeled "Nursery".
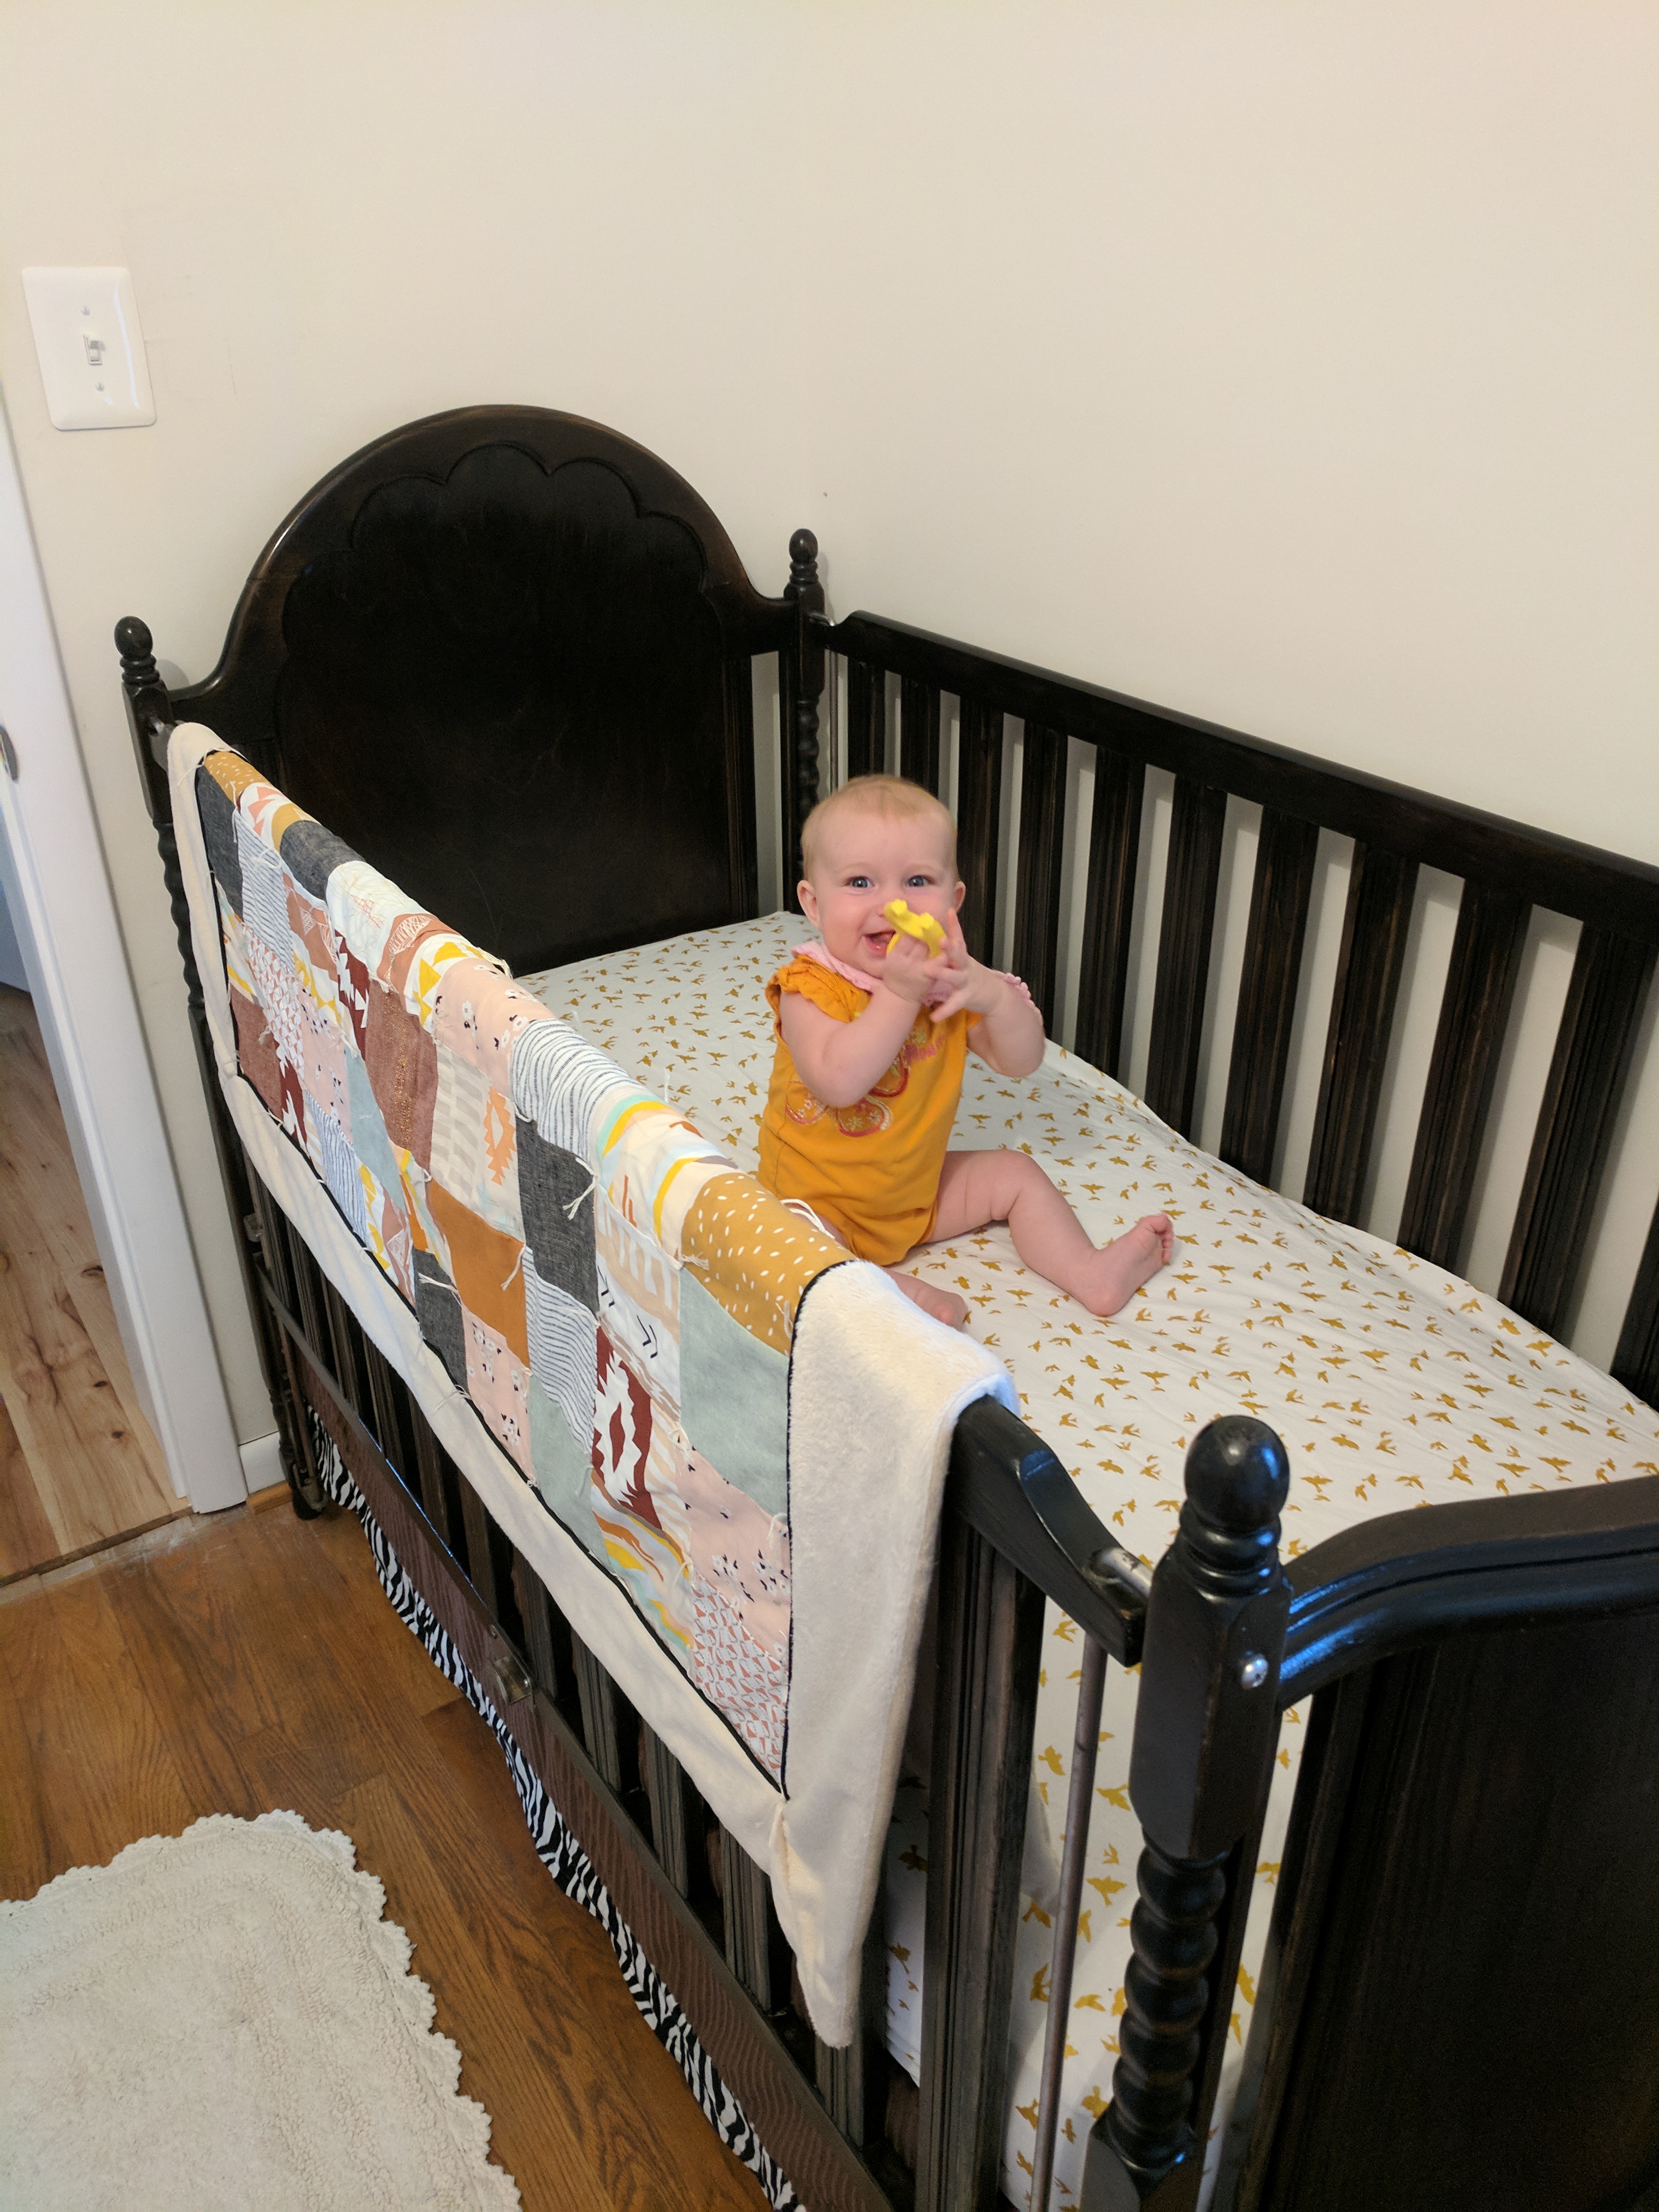
Interesting enough, the space where we had T's crib in her makeshift nursery was the same location of the crib before the major additions and the space! The space ended up being greatly reduced in size, which ended up being the perfect size for a master bathroom!.
Here are some pics of the nursery when J occupied it and then subsequently when Z lived in it:
And then the room when T was in it, downsized:
The crib is in the exactly the same location! Bring on the nostalgia!
Fast forward to 2021 again. T had just vacated the premises (safe in her new bunk bed with Z in her room) as a bright little 2 year old and out of the nursery!
Aren't they cute and proud up on Z's bunk in their room? (this was back at the beginning of 2021 when Z first got her bunk):
Clearing out the space--feeling slightly sad about it but super pleased we can move forward with the bathroom!
Removing the wood flooring in the shower stall to be, around Thanksgiving 2021:
This is how the contractor left/prepped the space for us, clad in Durock concrete board:
Gabe didn't want to use it--he had a different product in mind. The concrete board got re-purposed in a future, revamped chicken house. The concrete board on the floor of the coop protects it from rot.
In December, he removed the old oak floors:
And put plywood sheets down as the subfloor. (I don't really have a dedicated pic of that).
This particular year was really rough for us with various sicknesses--it felt like it was one right after the other, staggered with all 4 kids and us adults. So, needless to say, we didn't get a whole lot done on the house from about October 2021-April 2022. The sick season was ruthless that year!
Gabe worked on framing the shower and setting some rough-in plumbing fixtures in January and February when he had some spare time:
The bump out seen on the back wall is a design detail I want to try. Here's my inspiration:
The plan is to use
this subway wall tile horizontally on the walls except for the bump out, which will be aligned vertically:
Small, black 3"
hexagon mosaic is the plan for the shower pan and the recessed part of the back wall, behind the shelves:
I sourced
this for shower fixtures:
Although, I didn't buy most of the components from Build.com. I got most from Ebay, MUCH cheaper! Ask me to share a story about that sometime. :-P
Okay. Back up from all the pretty pretty stuff to what goes behind it--
This is the product Gabe utilized as the backbone of the shower stall system. They are waterproof wall and floor prefabricated components called Kerdi board that you can use to assemble a mortar free substrate for a shower!
In mid-March we had some guys come out to install rough-in plumbing--something Gabe is not interested in taking on himself! Gabe has re-plumbed the whole house, removing copper pipes and installing PEX everywhere, but in terms of putting in toilet and shower drains and connecting exterior water lines, no thanks!!
Voila! What an exciting step!!
Here we have a hole (covered in blue tape so we aren't sending septic gasses up into the house) the toilet will connect to:
I know, SO exciting! :-P
Aaannd double sink hot/cold lines:
Woo hoo!!
In the next picture, it can be seen where the new (plastic) water pipes are tied in with the old (copper) ones. The hall bathroom is on the other side of the back wall at this angle:
In July, we got the inspector back in to pass the rough-in electrical and he cleared us to put drywall up.
The veeeerrrry next day Gabe had me balancing 4'x12' sheets of drywall on my head!! I'm not saying I minded THAT much, because, progress.
This doesn't look like much, but my quivering arms told otherwise!!!
And we have light!!!
Actually, the following wall sheet is the first sheet Gabe installed, so that the ceiling board could be slipped in the crevice and have something to hold it up while I held up the other edges so he could screw the board in. Yeeeeooww!!! Notice the temporary, small pieces of drywall that are placeholders while he screws in the wall board. They were taken out before we put up the ceiling one.
Gabe had installed an exhaust fan on the ceiling earlier:
This is the ceiling above the doorway into the master bedroom, right above the double sinks:
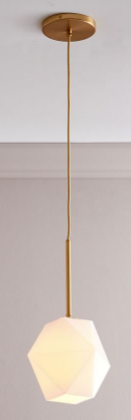
The electrical boxes represent the location of the three pendants I got to layer on top of the mirror that will be placed over the vanity.
The link doesn't show the correct size or color--it's now discontinued. Our light is 11.5" high and the metal finish is Antique Brass.
The
mirror will be 58"x 40" over the vanity:
We got our vanity from a friend Mark at
Anker & Klemm. And the vanity looks like this:
We already have it and it's sitting in our garage, waiting for a custom paint job. We got it as seconds from our friend's store and I'm thinking about painting it SW 7047 Porpoise, like the accent walls in the master bedroom:
Handles and hardware on the vanity will be satin brass like this (also sourced from
our friend Mark):
The countertop will be a Matte Carrara marble prefabricated one with two 18" rectangular sink holes. The sinks will be under mount. The slab for the counter will be the same as the threshold step for the shower.
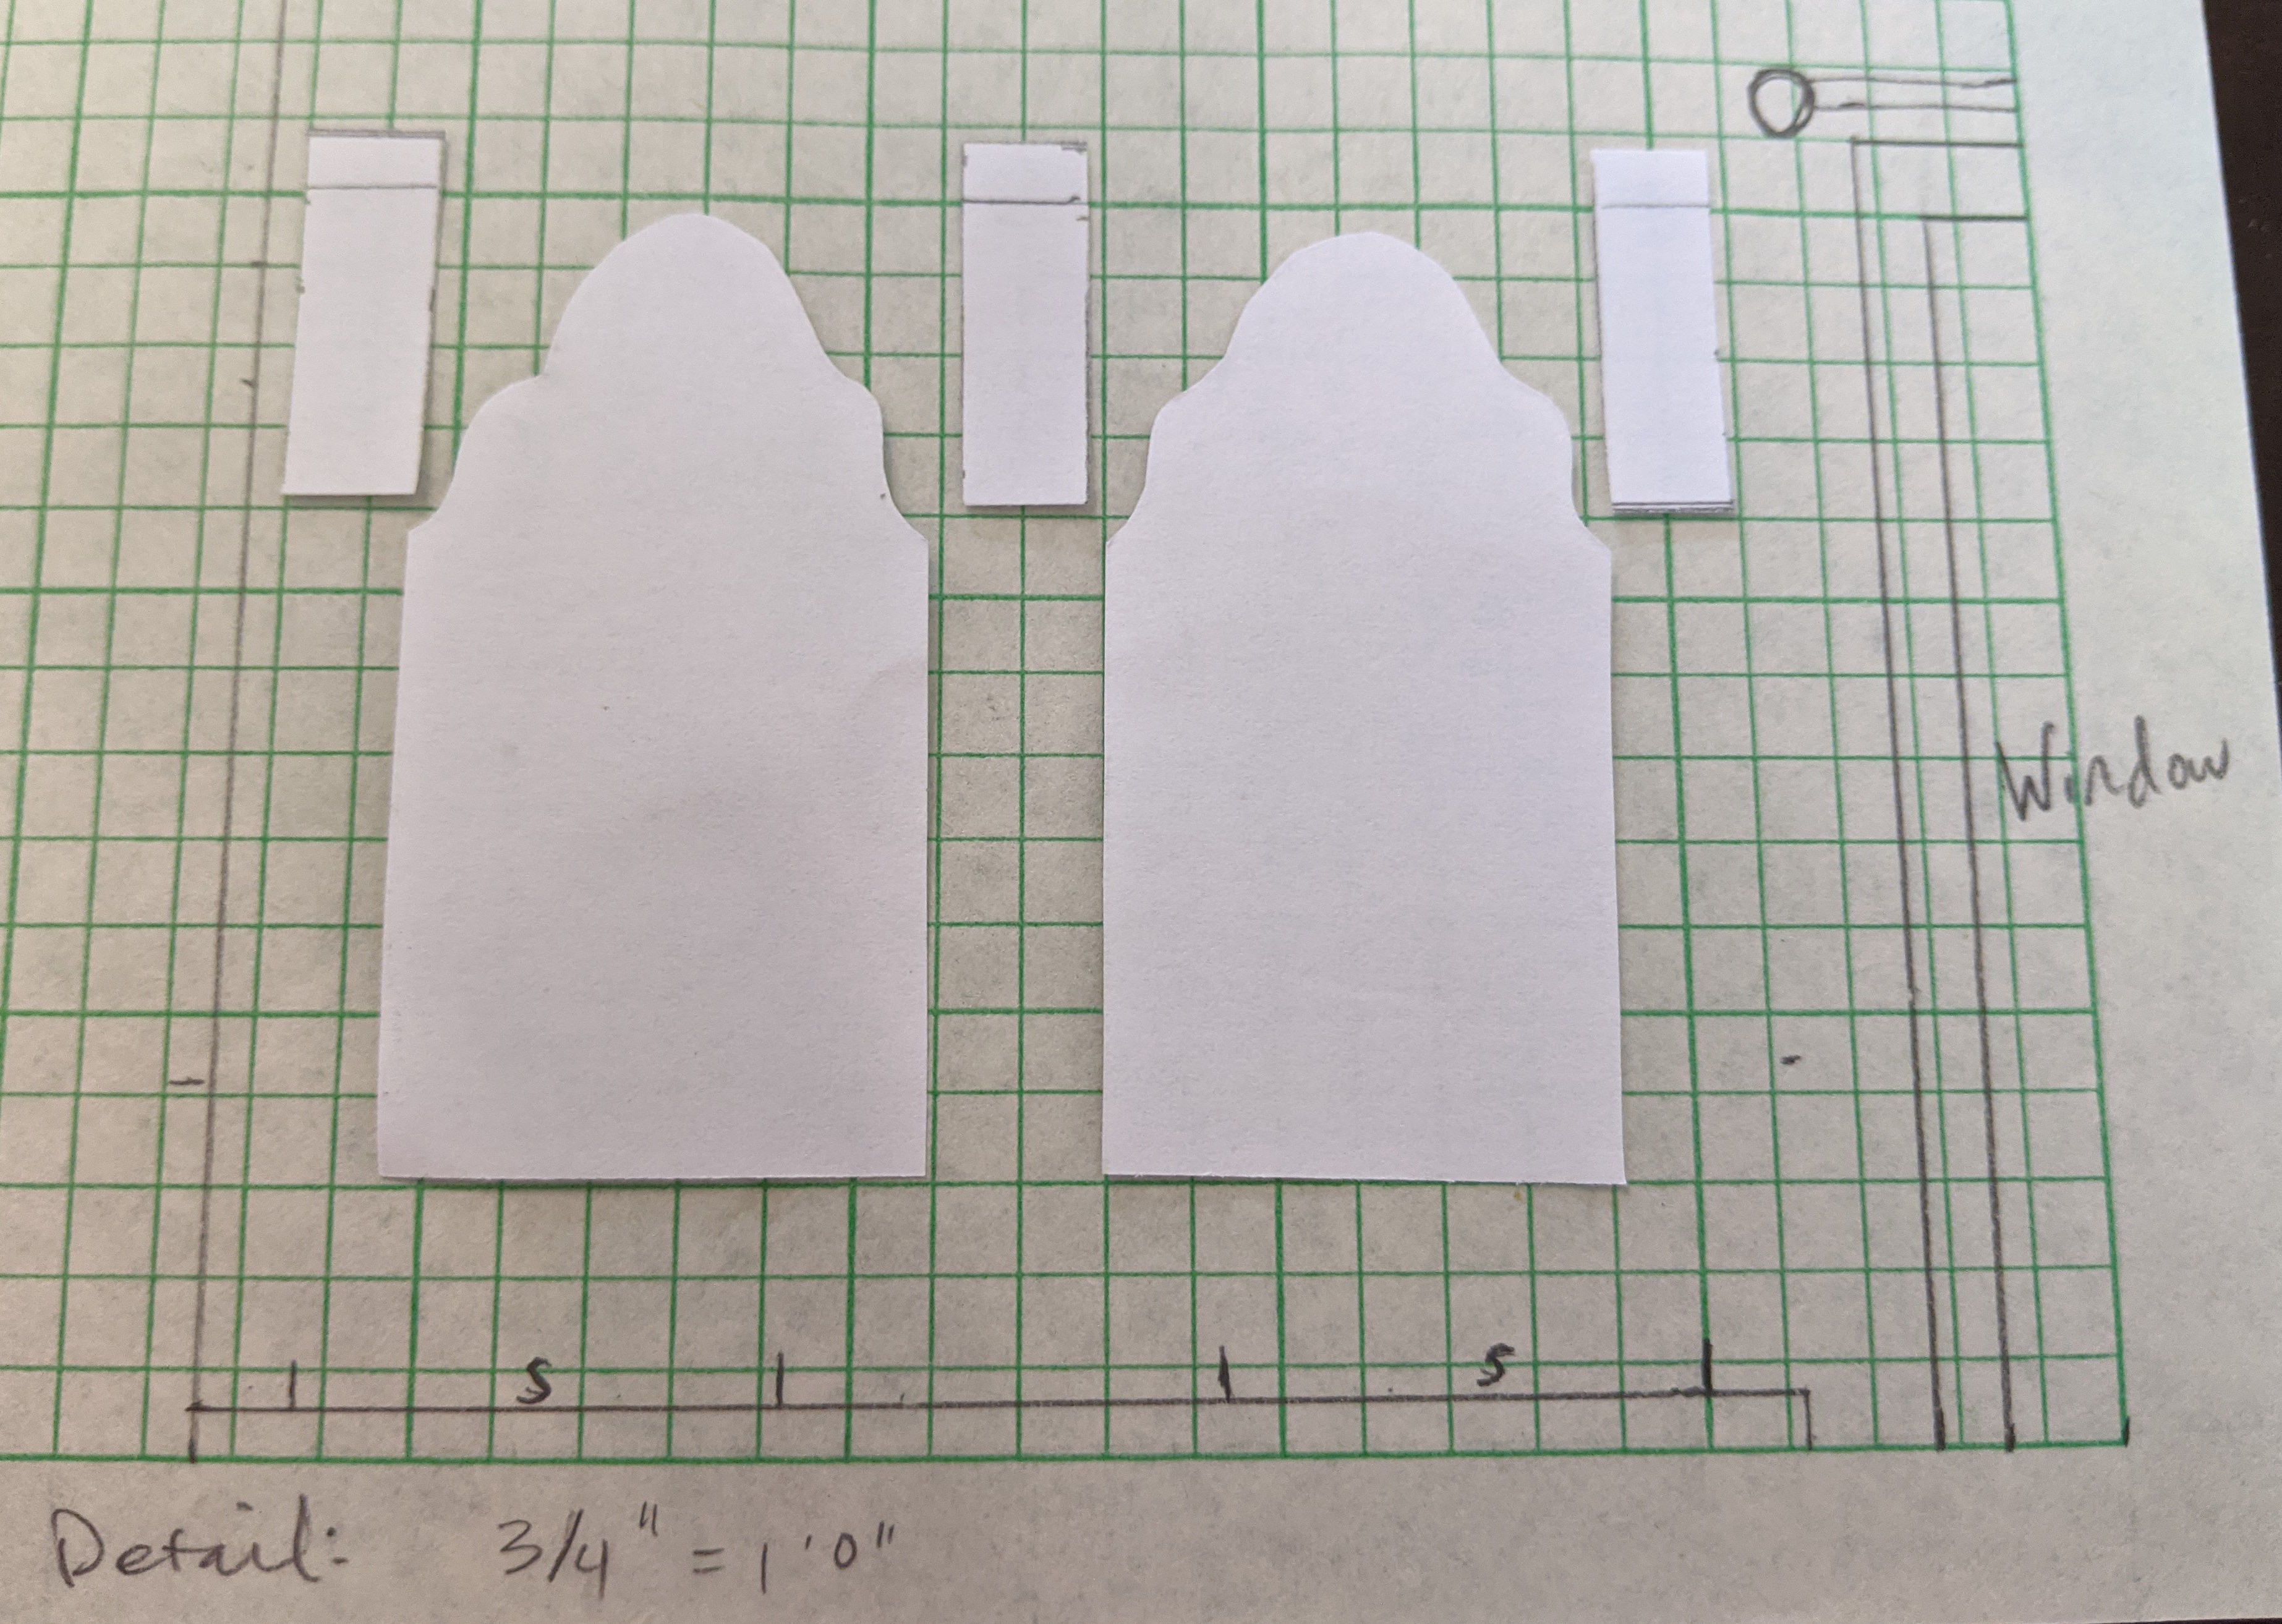
Reaching back into the annals of the planning phase of this bathroom project, I was pretty stuck, not having a clear idea what I wanted to do. One day I was shopping at Anthropologie and found a sconce that I LOVED, it was on clearance and so I ordered it. This:
Come to find out it was not actually available and they refunded my money. I proceeded to order it cheaply on Ebay, twice. Only to have it kick back again and AGAIN! It was not working out! Well. I had a sliver of inspiration after that battle--the shape of the shade was a hexagon--and off we go. These were a couple of early to scale drawing/mock ups so you can see the iterations of progression:
 |
| with the first sconce wrapped on the side wall |
 |
| introducing the pendants we ended up with |
 |
| playing with different size mirrors & pendants |
To finally arrive with the mirror and pendant selections I already described:

Well, that was fun. Back to reality....
Now the drywall is up, around the sink components:
Mouse proofed with "Great Stuff" around the components:
After the regular drywall is up around the room, Gabe starts working on installing the Kerdi board around the shower enclosure and drain:
A few more things to accomplish this summer in the bathroom, such as mud and taping the drywall joints, before taking a hiatus and moving outside to finish the new and improved chicken coop shed:
At the beginning of fall, once the chickens were settled into their new home, Gabe started working on the Kerdi curb for the shower. Here, he's fashioning a step out of the stuff, customizing it to our needs:
This next image shows the step in place and Gabe starting in on the heated flooring:
Before I talk about the flooring, I need to say a few more words about what is seen in the background with the Kerdi board. The fasteners that the boards require need to be covered by a waterproof patch that is then attached with Thin-set. It seemed time consuming and almost not worth it to me, but Gabe insists that it's still better than the concrete board because it's easier to waterproof and it's under warranty when you use the Kerdi board system with the floor pan.
Here, Gabe's installing the
heated flooring system which is a grid of raised bumps that wire can be fed through to heat under the tile.
First he installs the orange, bumpy grid:
Next, he clicks the wire into place around the floor so that it hits all the areas that we want and none of the areas we don't, like under the toilet and sink:
The following is a detail shot of where the wires feed into the wall (right at the doorway, to join with the light switches) and up to the control panel:
By this time it's the beginning of October.
Gabe smears Thin-set on the whole shebang to seal the deal:
We had a really busy fall so we didn't have a whole lot of time to work on this thing, but Gabe did manage to get the whole shower stall waterproofed and sealed including the drain:
By the first of the year 2023, Gabe was finishing up sealing the floor using the same patching, Thin-set system using special strips of membrane to clad onto the cracks:
January 3rd we had the rough-in plumbing passed, so Gabe could move on to tile work! Oh man, this gets me excited. Finally to be past behind-the-scenes into actual finishes that give hints to what the final product will be like!! YAY!!
First, a preliminary look at how it will go, without having to cut any tile:
Now, working to figure out the drain:
Some in progress shots:
See?!? Isn't it beautiful?
A look without the drain cap:
Moving on to the floor tile!
This is the field tile we are using:
It's an 11"x13" hexagon, matte tile. We'll keep the gap between tiles at 3/16".
First crack at installing it, around the toilet flange, the hardest part:
He also started one "row"in the niches of the shower stall to have a dry, level place to start from in the next Thin-set round:
This is the progress as of mid-January:
Stay tuned for Part 2 to come in twenty twenty tthhrrreeeeeee!!!!