Before shot of interior doors:
I had never seen this before: seeing the doors come with the trim attached. I still have no idea how our sub-contractor Rene (Dad and) did it.
The second bedroom door, from the inside and outside, into the hall:
Baseboard detail:
The block at the bottom corner is called a "plinth". We have done basic, squared off trim, in a post and beam style to be in keeping with the characteristic of the house.
Here is a photo of the original trim on the doors and windows of the house:
Sorry to remind you. :)
And master bedroom door:
Notice how the beam at the top overlaps the posts on the sides by about a half an inch.
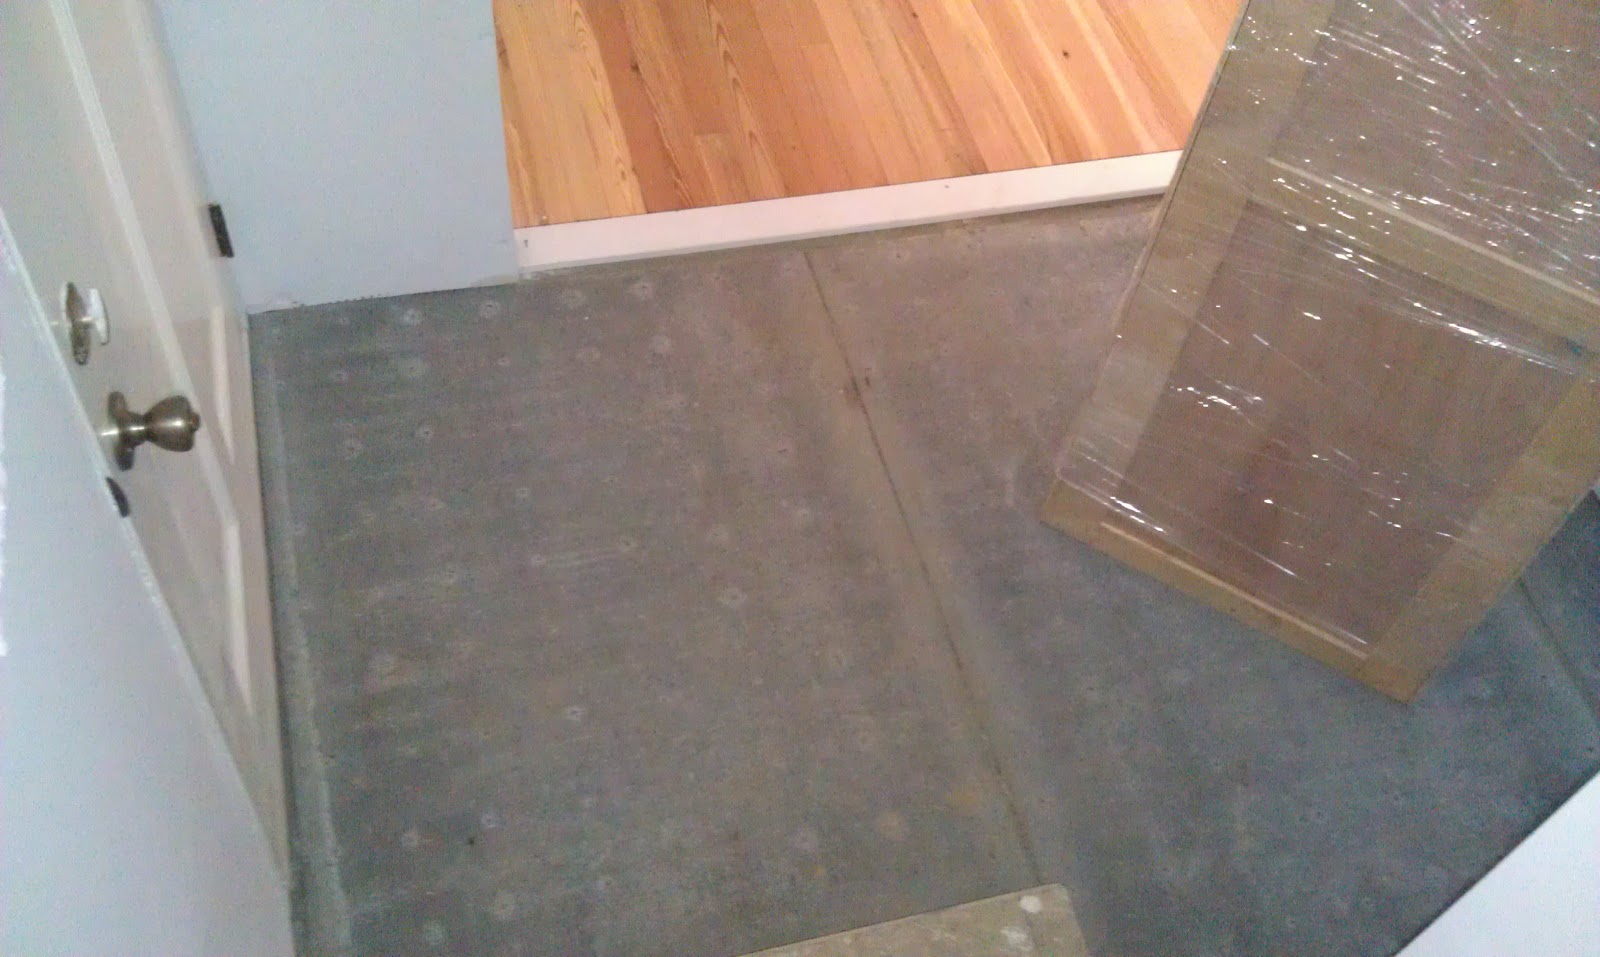
And by this time, the flooring had been completely laid as seen in the next picture, along with the cement board we laid last week (as underlayment for tile):
The next task will be to sand the floors down so they are level, and the existing low spots of varnish are removed. Mom & Dad took it upon themselves to champion this while Rene used the large sander.
Exhibit A:
Notice the dark spots on the floor where the varnish remained. That is what Mom is focused on removing, as well as evening out the edges of the boards; they didn't always lay flat.
While they did that, Gabe and I worked to prepare the master bathroom upstairs for the tile subfloor. This included sanding down plywood at the seams.
He also cut the opening for the jacuzzi motor:
Pretty soon we were all working on sanding down the wood floors, getting ready to have Rene seal them tomorrow.
My, my, it sure was noisy and dusty in there!!!
Looking good! It was only 9 pm that night when we left....
The next day, Rene took a little bit more time to make sure there were no snags and splinters left on the floor. At areas that were still high, he did some hand scraping!! That was really neat to watch.
Here's a pic right before he started sealing the floors (of course he vacuumed it really good first!):
While Rene was finishing up the floors, Gabe brought 400 square feet of slate tile inside so it could acclimatize.
 |
| What a hoss! |
I'm pretty excited to get started laying the floor!! But, we can't begin today because we still need to fix up the seams of the subfloor. Besides that, the sealer Rene was about to use to seal the floor was very stinky!!!
Rene begins....
Yay!!!!
So we left for the day and let him work his magic. A few days later Rene did a top clear coat, and then another one. Somewhere in there we got to see a few pictures:
 |
| From the front door |
 |
| Looking into the kitchen |
 |
| In kitchen |
Gabe finished putting paper and cardboard down, that we picked up from the recycle center. My back started giving me problems, so I just supervised :)
The next task was to prepare the kitchen for base cabinets. We didn't have enough reclaimed flooring to run it entirely under the cabinets, so we needed to fill in the gaps with a plywood subfloor. They matched the 3/4" thickness of the wood floors. We started by using scraps that we had around and about.
Look at that handiwork!
This is the right corner of the kitchen, where the dishwasher will go. The pantry that is only partially visible is sitting where the refrigerator will be. Speaking of the pantry, we had a little bit of trouble getting it to stand upright, since it only had 2 inches of clearance from the wood floors...whoops!! So, we had to find a high spot in the ceiling (hey, it's an old house!!) and use that to angle it up. Whew!! Dodged a bullet.
Next piece, moving right along:
This is under the sink.
Gabe is filling the cracks with gap filler:
First base cabinet installed!!
Next, is the 9" base cabinet that will sit in-between the corner and the sink:
Voilaà!!
The next day, we had some light on the subject. The boys continued laying plywood subfloor for the gaps under the base cabinets.
First, the corner cabinet:
Then the 12" base drawer/cabinet in between the corner and the sink:
Make sure it's just right!!
In above picture, the plywood is the location of where a 36" base cabinet will go, and in the area where there is wood flooring, the range/oven will be placed, since it might be replaced during the life of the kitchen.
Adding the drawer:
The 36" base added:
Something bizarre....Gabe was screwing sink holes for the screws, and the screw bit reversed on itself:
 |
| CRAZY!! |
Here, Gabe is trimming flush the wood slats so a plywood patch can be placed under the future pantry.
Notice the water connection for the refrigerator will need to be routed from the lower shelf of the pantry to its left where the refrigerator goes.
It took a little jigging to get the water pipe in the right location, and we soon discovered we were going to need another part to make it work, and the hardware store was closed. So we would have to install it next week.
But Gabe was still able to cut the hole in the back of the pantry for the electrical outlet:
Starting to look like a proper kitchen!!
Still a bunch of tools hanging around, and the pantry is turned around, but it's getting there!
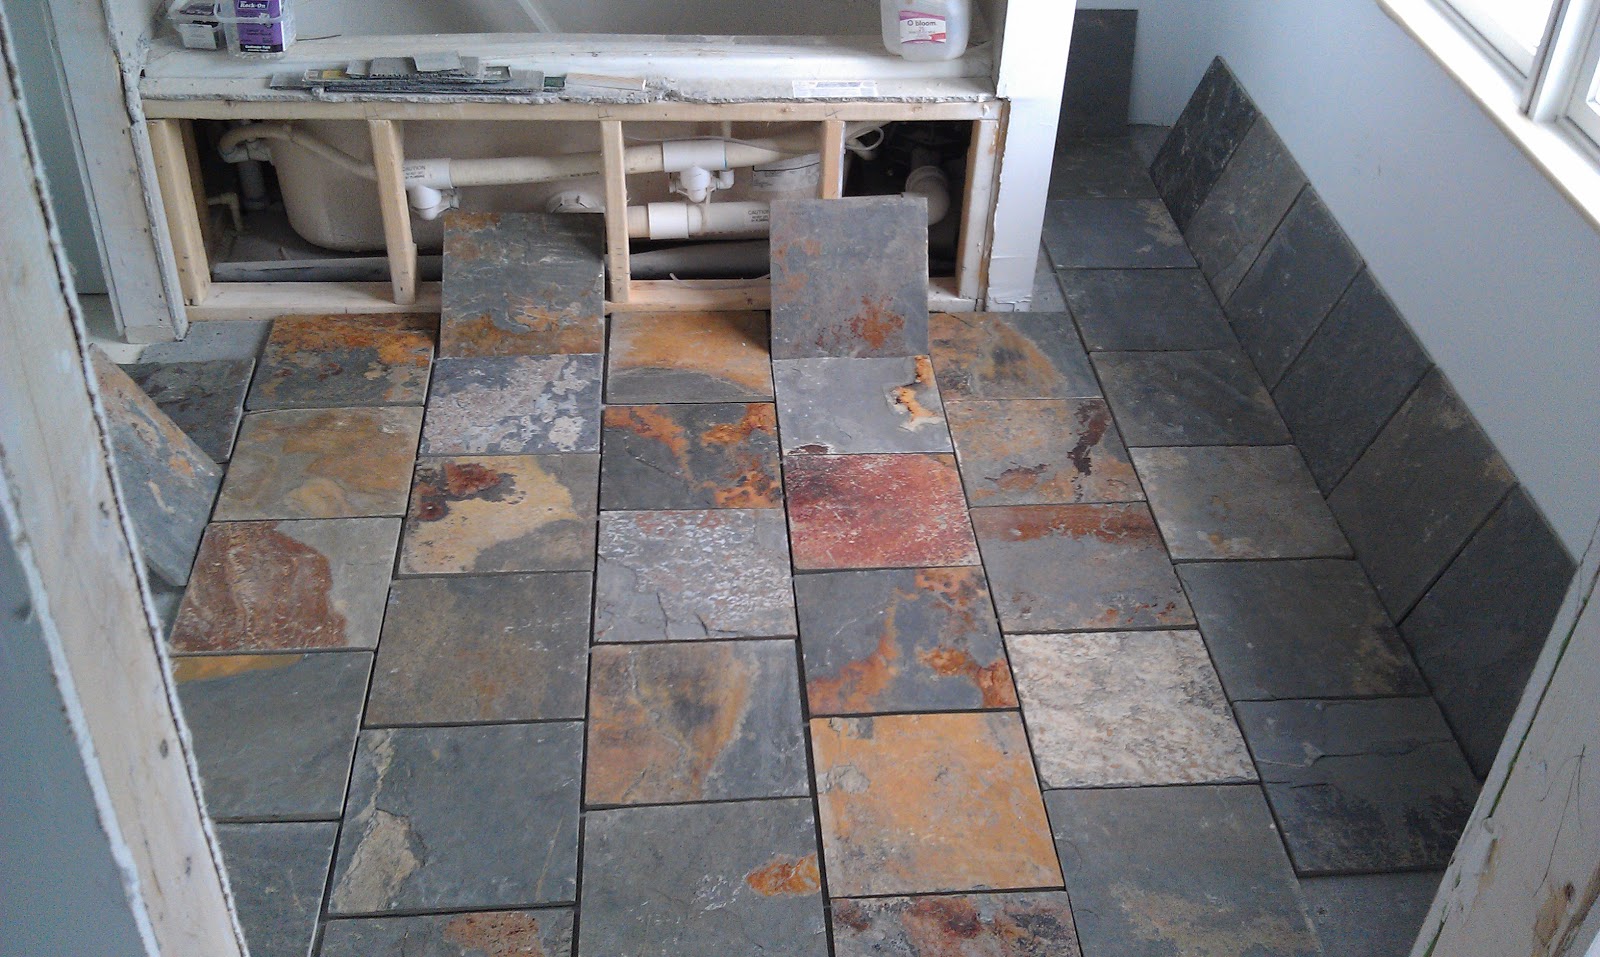
Mom and I had our own projects we were working on. Mom was busy sanding down the primed walls, getting them ready for paint. I laid out the slate floor tile pattern in the upstairs master bath in preparation for installation next week.
I'm so excited about our slate tile! The natural variation is so rich.
The first weekend of March, at the house on Friday, we saw that some of the trim was done downstairs as well. The closet door was installed:
Gabe and I worked on adding Durock to the closet under the stairs. We also added tape to the seams of all the cement subfloor, and then added Thin-set on top to secure it.
 |
| Upstairs |
 |
| Downstairs |
The space under the stairs:
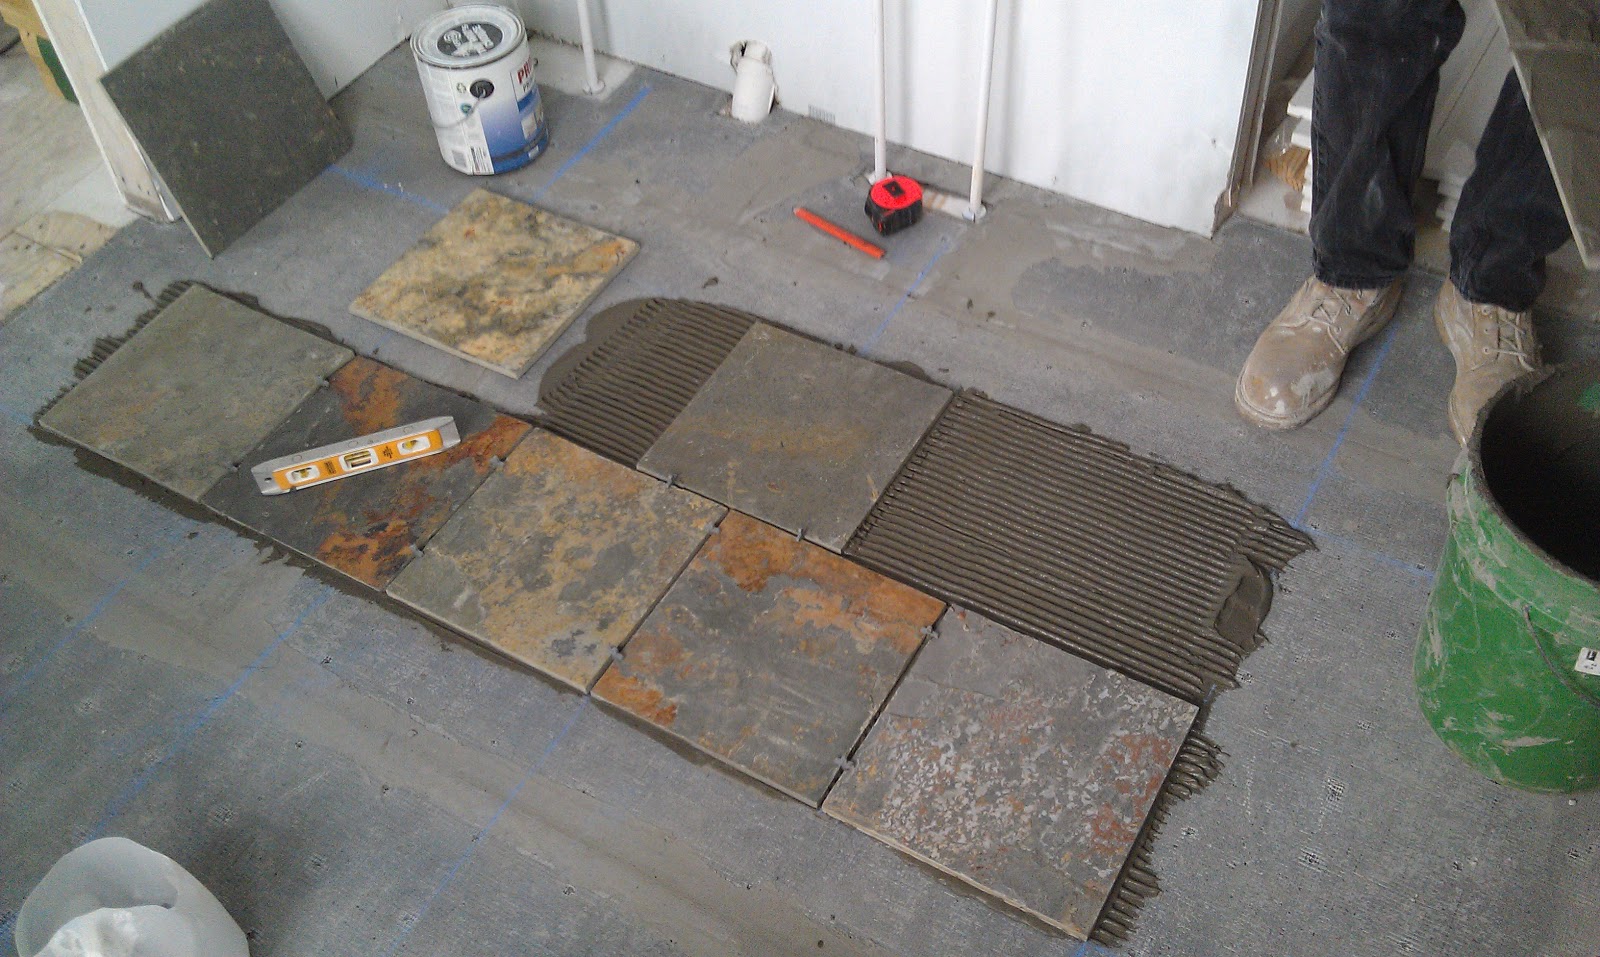
We spent Saturday laying slate tiles upstairs. First, we laid the grid with a chalk line:
Gabe tested the tile saw that we got off Craigslist, and it worked beautifully!
Before we got started setting the tile, we realized we probably should get bigger spacers for in-between the tiles, since we only had 3/16" ones. Since Dad was out and about, we asked him to bring us some 1/4" spacers. It ended up helping out a lot to have the larger size, since the slate tile has slight variation in size.
While we waited for Dad to bring the spacers, Gabe adapted the water valve for the pantry cabinet and fit it in place.
Here it is in place!
These are the site lines from in the living room:
The plywood was all laid and ready for the remaining base cabinet installation:
So when Dad got there, they brought the pertinent cabinets downstairs so they could be installed soon.
No more monster stack in the master bedroom!
OK, now we could get started with laying the tile!!
I selected the tiles, brought them to Gabe, and made sure they were oriented appropriately keeping in mind the thickness of the tile and the patterning.
The first one is the hardest! It's important to start from the middle and work towards the edges.
The back of the tile needs to have a thin layer of Thin-set mortar on the back, and the Durock needed also to have Thin-set applied, but with grooves, acquired with a grooved, float trowel.
Moving right along...
We had to move quickly!
He's worked himself into a corner...
Starting in on the second half of the room:
Yes, I was actually doing something:
Yes, Gabe is sitting in the location of the throne:
The homestretch for today....
We will need to finish laying tile for this room next weekend. Then, we will seal it, to protect the natural stone from getting scratched and damaged from the grout, add the grout and seal it again. Whew!!
This next week is my Spring Break, so I will be getting my relax on.
And that is a wrap for now!!!


No comments:
Post a Comment