A few things have happened since I have written last. One, we had a daughter! Isn't she cute????!??

She is now 3 months!! My my, how time does march on.
Little miss has slowed down basement progress some. Juggling new baby and creating a room for said baby to live in at the same time is no joke! I don't recommend it. We intended to have it done before she came but it just didn't turn out that way! Finding time to do (loud) basement projects in-between the naps of a toddler and infant (a sensitive, colicky one at that!) has proved to be quite tricky. We couldn't have done this without the help of my generous parents!!
At this point, the space is really taking shape! There was a lot that took place behind the scenes down there...so many details to think about before closing in the space! Here's a recap on plumbing work we have done: Gabe re-routed/replaced almost all the in-efficient copper plumbing with PEX, we moved the water heater from one end of the house to another, and added a bigger water pump. And Gabe did it all--minus the initial pipes that were added underground for septic. I was very impressed with his thoughtfulness, planning and ingenuity in the whole process. We now have better water pressure and a quieter, more updated system thanks to Gabe's research and dedication. Here's Gabe in action with a blow torch:

Here he is moving the water heater:

And then installing the new, bigger water pump a week later:


Mind you, this work was going on the week we decided to try and potty train our toddler boy. THAT was an interesting week!!!
So many pipes!

Gabe was forever adding things to the list for what needed to be done before we could schedule the drywall guys to come and work their magic. On top of the plumbing work, Gabe also did most of the electrical himself, with me being consulted on location of boxes, type and size. He put in all the vents and we added an exhaust fan in the bathroom--that will be nice, there isn't one in the upstairs bathroom, so we have to open the window in the middle of winter ;) We had to cut into the exterior wall, through brick to fully vent. That was a noisy day! Also, I must add, our 2 1/2 year old son is pretty sensitive to loud sounds--he doesn't yet love the sound of his daddy's drill. It seemed like there was always one more spot to frame (having something on which the drywall would attach! Just another thing I wouldn't think of!!)
For a good 6 months from the time we started framing in February, there wasn't a whole lot to see--minus minor details only a specialist would notice!! At the end of August, Gabe and my dad worked on insulating the space. This was an exciting step since it starts to feel like an enclosed space. The sound started to deaden a little bit--in a 1960's home with squeaky wooden floors this will be much appreciated!! The insulation was placed around the exterior wall and in the ceiling, upon my request. I'm so glad we did! Here are a few pictures:


After installation, we needed to have one more inspection before we could drywall. Almost there!!
The night before the drywall guys came, Gabe was rushing around finishing last minute things. It will be easier to add a light fixture to the stairwell before the drywall goes up, so he took the opportunity to go up to the attic crawl space (yuck!) and do a little guess work on where the fixture would be dropped. He got it right on the first try! That's ma man! :D Our son was so excited daddy was going up the ladder to an unknown, un-explored space--he wanted to come too (he couldn't--too messy with insulation). I was rushing to make room for all the little things that were in the room outside of the room. Gotta be organized or it gets chaotic real quick!
Pics the night before d-day:


Just to note--we have no general contractor. Gabe and I source and gather materials before the guys come and make sure they will be as efficient as possible. In this case, we bought 38 sheets of drywall and buckets of mud. I'm sure there are more details, and we have additional help from my mom and dad too. My mommy brain spins at times!
Three weeks ago is when we were able to schedule a couple days for the drywall guys to come out and get the job done. It ended up being a 3 day process stretched over a week timeline. He came on a Tuesday, with a buddy, and hung the drywall, taped and mudded. He was here another time over the weekend to sand and mud again and then one final time the next Monday after that to do one more mud and sand.
We had 2 sheets of drywall left. Better too many than not enough when you are paying someone else for their time and labor. There was just enough time to take back the last few sheets in Gabe's pick up truck before we sold it to fund more of the project :)
Pics of drywall!
 |
| in the mud room from the basement door |
 |
| from the bathroom |
 |
| looking into the bathroom |
The bulkhead looks a little rough because the guys didn't put drywall there. Gabe wanted to clad it with something different so he could access the pipes in this trunk line. So he put 1/4" primed plywood in it's place and we will do some sort of trim piece to hide the cracks showing at the top. Not my favorite idea, but I guess it's a necessary thing.
Since I didn't get pictures of every. single. step. you can see that it has been primed (with a spray gun) and ceiling paint is already done on top of that. It is Sherwin Williams "High Reflective White" in a flat finish.
We have since moved the freezer out into the "mud" room where the water heater used to be. It just fits! Although it is not in its final location--there will be some switching around of utilities to come. Just not a priority right now like having a bigger bedroom so we aren't all tripping over one another and all our furniture in our current bedroom!
Freezer's new location:

Basement bedroom without the freezer in the middle:

Now for an especially fun part. Finishes and fixtures!
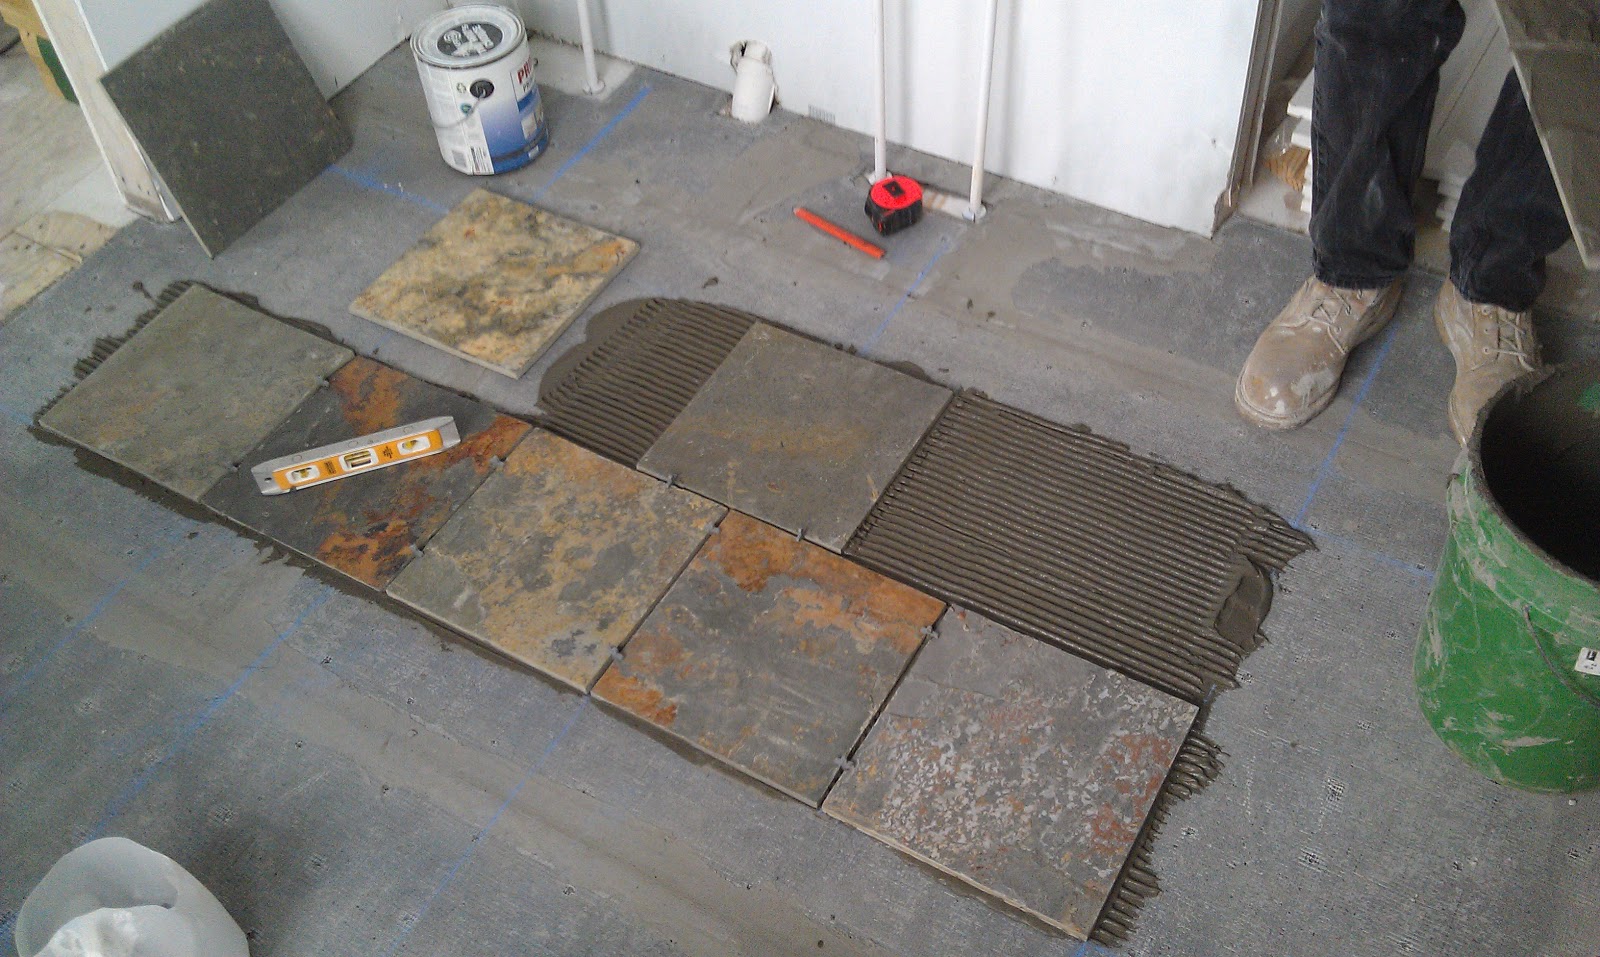
Last weekend, we had another subcontractor come out (thanks for the reference Dad!) to tile the bathroom. Know this, it kills my husband to have to hire someone out to do this. He wants to do EVERYTHING!! :P (i love you Gabey)
They came on Saturday, completing most of the shower/tub surround and flooring. They were there until after 10pm that evening! And they came the next day around 8:30 until around 1pm and laid the rest and grouted.
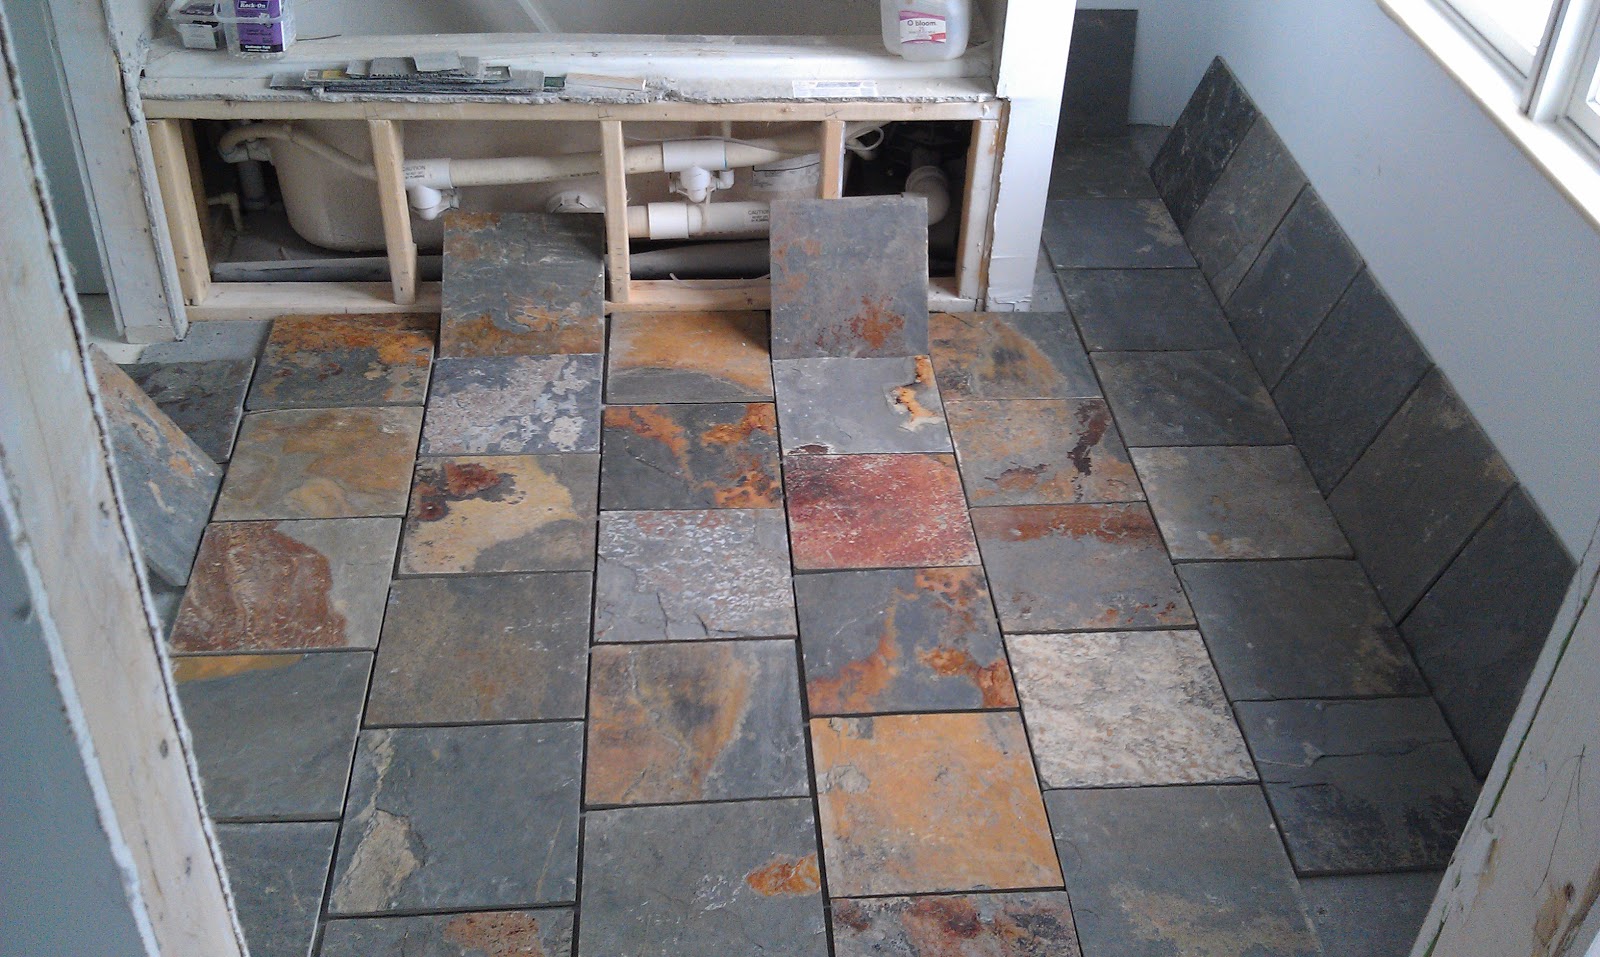
I'm very pleased with my tile design:

The pink that can be seen around the edge of the tub is part of the waterproofing membrane and can be scraped off easily.
Here is a detail shot:

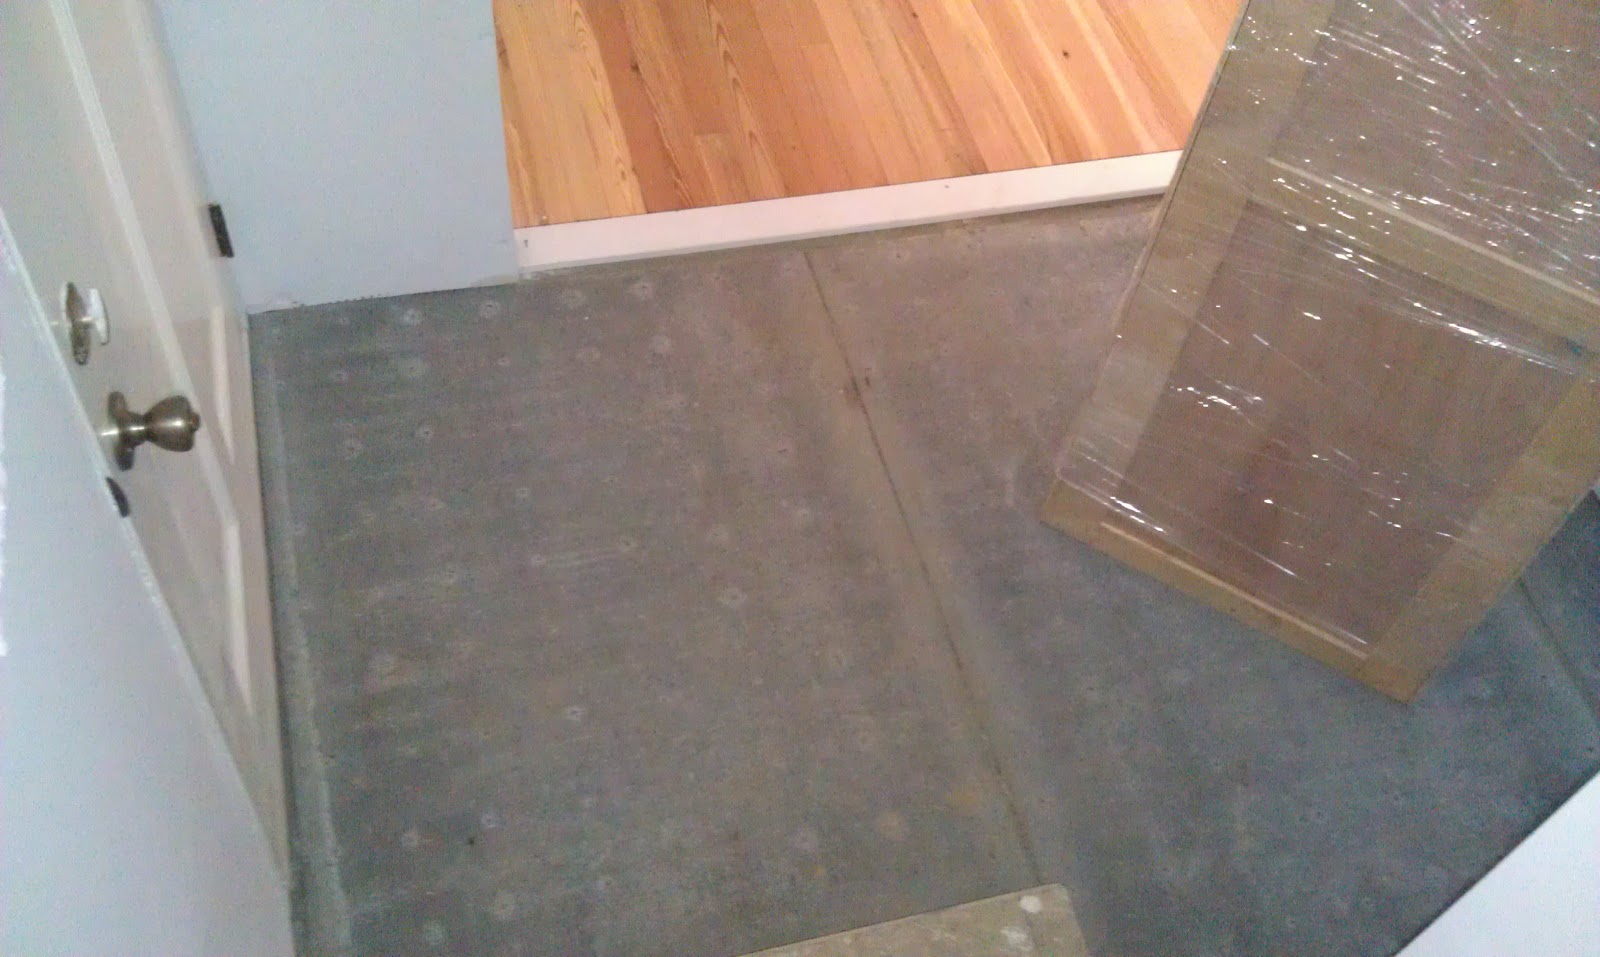
And the wood look flooring + vanity (uninstalled):

Few more shots:


You can see the paint color options I'm mulling over on the above picture. I'm looking at some variation (lighter) of Behr "Dolphin fin", "Rhino" and "Sage Gray". "Rhino" was used in the bathrooms in our first house flip.
Here are the color samples:
 |
| Dolphin fin |
 |
| Rhino |
 |
| Sage Gray |

I had them lay it in a wood staggered pattern with 3/16" grout joints. The grout color is "Truffle" from Home Depot.
Here is where we ended up sourcing our wall tile since it went discontinued at Home Depot during our project and I had only bought one box as a sample! It is a 4 1/2" X 10" matte white tile. There was one box total out of 11 boxes (120 square feet) of breakage and they were kind enough to send us that replacement free. This is laid in a brick pattern with a 1/8" grout joints.
This is the accent tile:

I had them cut it down to 4" wide for the band. We had to do some planning in order to make it fall neatly where we wanted it in relation to the niche.
We haven't installed this yet, but here it is:

Here is the laminate (not my first choice!) flooring we ordered for the bedroom. I guess hardwood and/or carpet isn't a good idea for a basement.

I made a mock up of the vanity mirror to see how it will fit. It was tricky to find a mirror that will fit between the sconces. It's up high because I have a tall husband :) and also because we are putting in a "chair rail" of tile on the north wall to act as the backsplash.

Here is the mirror we bought:

Here is a pic of the vanity sconces:

Here is a pic of the lighting fixture in the hallway of the bathroom, in front of the linen closet:


The floor trim we have ordered in keeping with the rest of the house:

We are also hoping to install the flooring in the bedroom.
Here's hoping it's done soon!! We sure are ready.
I'll be in touch for the conclusion of the matter!