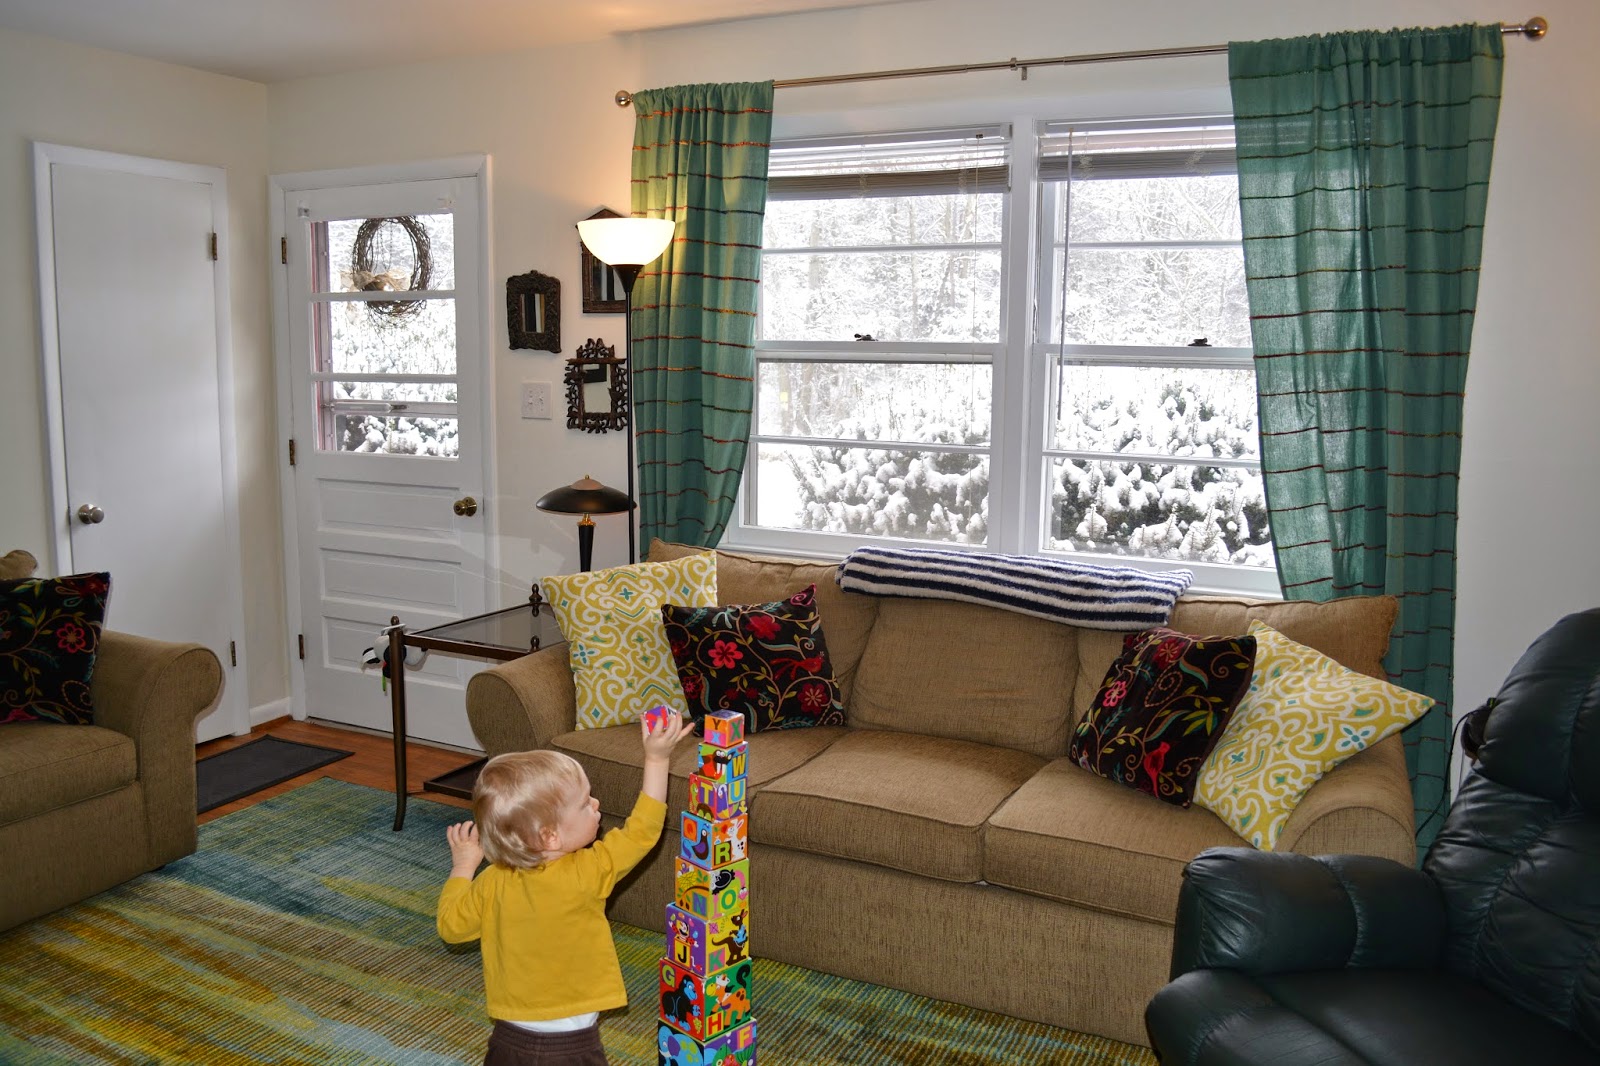
I'll start with the room that had the least amount of work done to it. I'll just share a couple of pics that I took in between picking up my sons toys up off the ground :D
Check out the upstairs floor plan from the last blog on the house here to find your way around.
First, a leeeetle trip down memory lane.
Right after we bought the place:
floors before:
floors after:
Our little 7 month old at the time:
And this is how we live right now, making the best of all our conglomerated college furniture, keeping in mind the growing needs of our little one:
Our little 15 month old enjoying his blocks in the space:
Condensation on our single pane windows...man am I excited for spring!!!
A few words on creating a picture composition:
1. There needs to be a focal point.
The pic in the middle is a focal point because it is the largest, has a frame and wide matte board, and sticks out farther from the wall than the others. Symbolically for us, it represents where our family sprang from--this was an engagement photo of Gabe's and mine. I have a secondary focal point on the left, and it works because it is larger, is spaced out from the main focal point and has similar elements to all the rest except having a matte board incorporated.
2. Find a common thread to bind the rest of the pics together.
I chose a frame-less glass application to allow the pictures to be close together, getting more pictures closer together.
3. Be picky about the spacing.
I chose two different spacings-a 3/4" and an 1 1/4". The larger spacing accommodates the larger size frame, usually 8 X 10. They are spaced out in the larger composition as well, not always right next to each other, but scattered. Make sure before you place the picture, you have someone hold it up to see if it works for you from farther away.
4. Be able to build on it.
I want to be able to add pictures as my son grows, so placing pictures sometimes lined up will allow larger ones to be built up close.
5. Negative space is as important as positive space.
Positive space is what is created by the images themselves. Negative space is the shape of the space around the images. Take a second look at the wall and this time notice the white space around the pictures and the shapes that are created.
Here is another photo after I added a few more pics. Notice the shapes, and the positive & negative space created.
It's always building and growing, just like our family! :)
Well, that's all for now!!!


No comments:
Post a Comment