Check out the floor plan to see which spaces we are now occupying:

The lower left hand corner is the master bedroom with the adjacent bathroom, that serves as a master bath, with access from a future multi-purpose space (a project for another space and time). The mud room with the washer/dryer, basement entry and stairwell will be finished later as well as the articulating and partitioning out of a rec room, storage and utility room.
Did I mention how glad I am to be moved into the basement bedroom? If I remember correctly, we moved in to the basement right after Thanksgiving. But it was a big push to do so. There were a lot of long evenings we worked!
For a refresher, here and here are the two updates on basement progress. The last I wrote, we had just installed drywall and had some tile work hired out in the bathroom.
Gabe's next project was to suit up, mask the window and spray primer. Here's the man himself--do you recognize him?

Next, Gabe installed the Pergo flooring in the bedroom, sourced from Lowes with the link here. That was fun and caused the room to feel even more warm in a jiffy, hiding all that concrete underfoot!
Here's a few pics of the process:


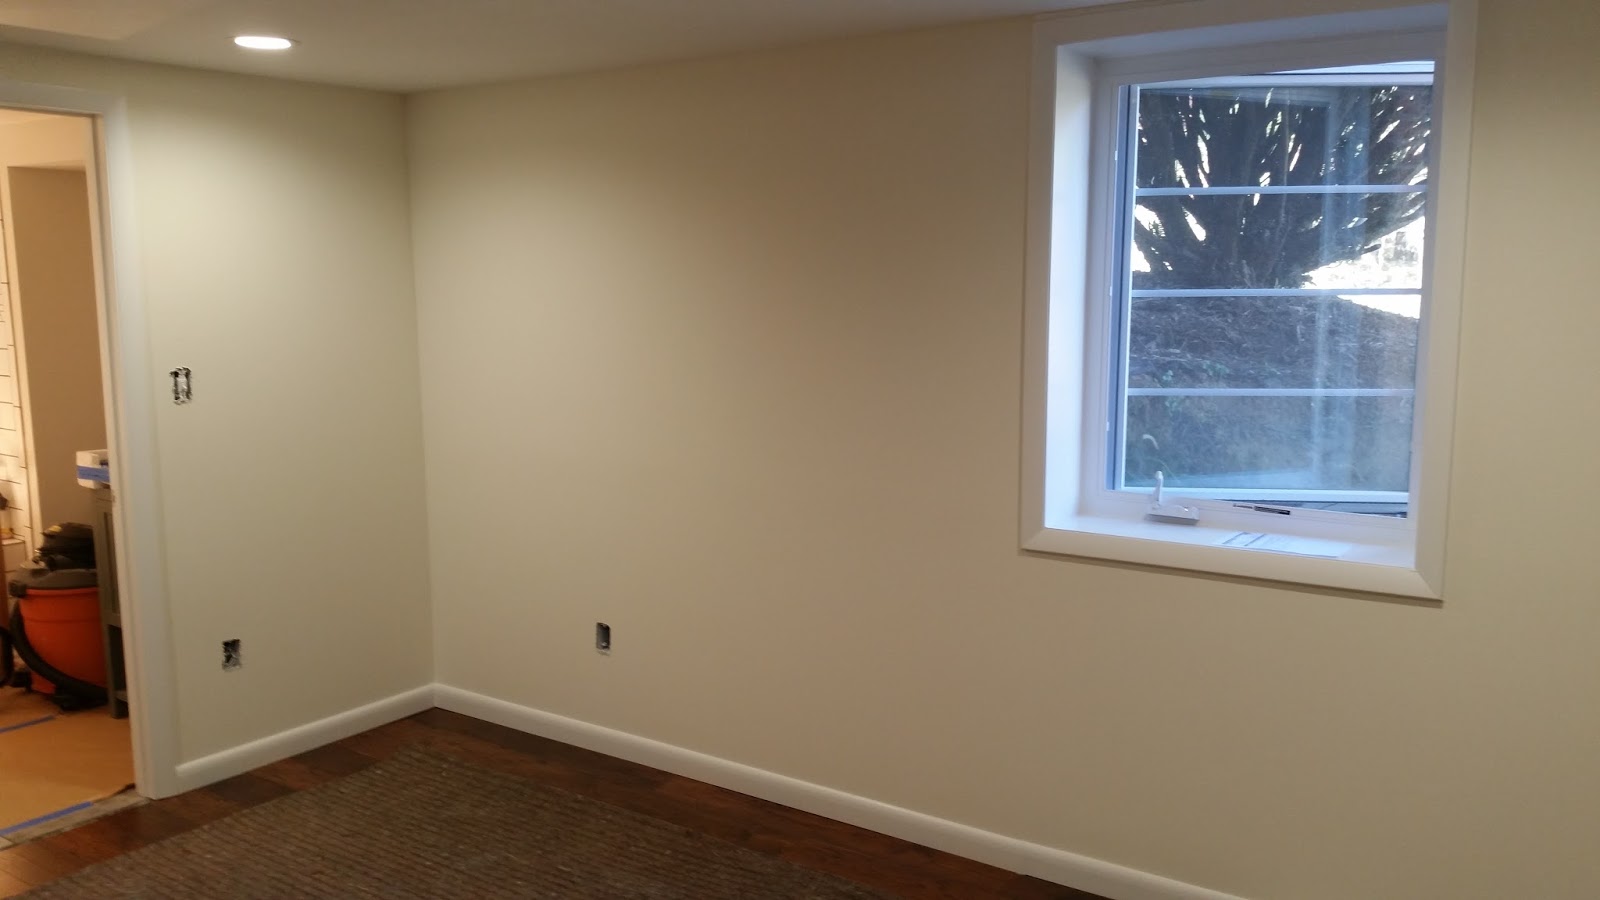
After the floor was down, Gabe and Dad finished the closet and baseboard trim. Then we hired out the painting, except for the bathroom, since it's a smaller space, and I would be able to do it easily (and I hadn't decided on paint color yet!!). I landed on "Dover White" in eggshell for the bedroom, in keeping with most of the common spaces upstairs. It really helps unify the downstairs with the upstairs. The color is a warm neutral cream and I like it. Trim and ceiling are "High Reflective White" in semi-gloss and flat, respectively.
I was getting increasingly motivated to move in--the finish line was SOOO close!!! The last few projects got finished in a flourish with our excitement as fuel--shoe moulding and closet system installation were getting accomplished in tandem with laying the new rug/pad I bought.


This is the rug I bought. I was really excited about creating a "tribal"/African theme down there with all of the decor that was coming out of Judah's room. We didn't know his gender before he was born, so the theme of his room was black/white/brown neutral African landscape, with photos and memorabilia from when I had been there. All of these things will not accompany him to his new big boy room. I am decorating his new room with items he is more interested in now and am transplanting the African decor to our new room. (Is it bad that this was my plan from the beginning?!?!)
As far as moving our furniture in, we spent a Saturday moving--first the big California king bed. Boy howdy was I excited to get out of that crowded little room we were using! And the rest is history. Heee hee, not really. I just don't want to go into all those moving and decorating details. I'll show pics instead!
Besides the rug, this tribal duvet cover (shown below) is the only thing I bought for the room, decor-wise. This is a big deal for an interior designer at heart!!


I love how the duvet cover looks with the rug! Although I'm not ready to use this white duvet cover just yet. We have a little baby in our room still ;) Anyone who is a parent will understand this! So the bed is currently clad in the quilt I made a couple of years ago.

Now we have full his and hers closets (never had this before!)!! Closet doors are apparently too high class for us :) Jk, just not done yet. We plan to buy closet doors later, when we buy replacement doors for the bedrooms upstairs.


On the opposite wall (north wall) from left to right:


The cutie patootie herself:


And just for the funsies, here is a side by side comparison (of the same corner) before/after:
 |
| from 2014... |
 |
| to 2016...because this. |
Because who doesn't love a good transformation???!? I'll keep a bright bedroom with a cute baby over a dark corner with a cool old wood stove any day of the week :)
Moving right along to the bathroom--we had a lot of work to do to get it up an running. I spent a couple evenings painting:

Gabe and I decided we wanted a half wall of subway tile in the bathroom to act as a backsplash of sorts. I didn't really get any pics of the process though. Only of Gabe installing shower fixtures:

But you can see the tile (and toilet and vanity!) installed in the background. That was a lot of work! We didn't have that hired out because the guys that came to do the shower tile would have had to come an additional couple of times to complete it (costing more) since the area wasn't prepped yet (doorway trim needed to be installed first--process improvement--we'll need to get better at the "critical path". Ooohhh that felt good to reach into my designer pocket for a sec and whip out a design term....hee hee)
I'll just jump ahead to what it looks like now, since I just don't have a whole lot of process pics from this time, starting from inside the bedroom:


Here is the source of this metal shelf/towel rack I bought. I love how it brings together the oil rubbed bronze metals and the satin nickel we have going on in here.
The mirror I referenced in the last blog, but I'll detail it again here.
The towels are an ivory/gray color from Pottery Barn and a splurge (it was time for new towels! our old ones look grungy).


The shower curtain is from Home Goods and has all the colors in it to pull everything together. I'm not in love with it, but it works.

Currently, we still need to caulk around the tub to make it usable. Everything else is usable. We need to do a few more finishing touches, such as caulk neatly around the tile wall surround/edges, add door stops, possibly paint the ceiling in semi-gloss, and finish the tile trim inside the closet. Details, details. They sure are pesky!!
Aaaannnnnd, here are a few pics I have to throw in of my wonderful family at Christmas time, since they are certainly part of this greater house project :)

Our sweet son was so excited about his toy (he actually got it for his birthday in November, and so I thought it would be a good idea to bring it out at this time--maybe to make up for our lack of awesome gifts---aren't we horrible??!?) tools, like his daddy's. *heart melt*

And our little sweetie girl was under the weather (later to find out it was RSV she got from her brother) during our extended family gift exchange. I love her little snuggles!
And one more, slightly scandalous:

Happy New Year folks!
<3

Gabe and I decided we wanted a half wall of subway tile in the bathroom to act as a backsplash of sorts. I didn't really get any pics of the process though. Only of Gabe installing shower fixtures:

But you can see the tile (and toilet and vanity!) installed in the background. That was a lot of work! We didn't have that hired out because the guys that came to do the shower tile would have had to come an additional couple of times to complete it (costing more) since the area wasn't prepped yet (doorway trim needed to be installed first--process improvement--we'll need to get better at the "critical path". Ooohhh that felt good to reach into my designer pocket for a sec and whip out a design term....hee hee)
I'll just jump ahead to what it looks like now, since I just don't have a whole lot of process pics from this time, starting from inside the bedroom:


Here is the source of this metal shelf/towel rack I bought. I love how it brings together the oil rubbed bronze metals and the satin nickel we have going on in here.
The mirror I referenced in the last blog, but I'll detail it again here.
The towels are an ivory/gray color from Pottery Barn and a splurge (it was time for new towels! our old ones look grungy).


The shower curtain is from Home Goods and has all the colors in it to pull everything together. I'm not in love with it, but it works.

Currently, we still need to caulk around the tub to make it usable. Everything else is usable. We need to do a few more finishing touches, such as caulk neatly around the tile wall surround/edges, add door stops, possibly paint the ceiling in semi-gloss, and finish the tile trim inside the closet. Details, details. They sure are pesky!!
Aaaannnnnd, here are a few pics I have to throw in of my wonderful family at Christmas time, since they are certainly part of this greater house project :)
 |
| Christmas morning at our house |

Our sweet son was so excited about his toy (he actually got it for his birthday in November, and so I thought it would be a good idea to bring it out at this time--maybe to make up for our lack of awesome gifts---aren't we horrible??!?) tools, like his daddy's. *heart melt*

And our little sweetie girl was under the weather (later to find out it was RSV she got from her brother) during our extended family gift exchange. I love her little snuggles!
And one more, slightly scandalous:

Happy New Year folks!
<3


