Showing posts with label plumb. Show all posts

Wednesday, October 14, 2020

Evolution of the Bonus Room

Continuing our basement progress series...  

Here's the scoop on the evolution of the bonus room!

Let's go waaaaaayyyy back..


to 2015 when Gabe was patching the cracks in the foundation wall and sealing it with Drylok paint.

From the other direction in this cavernous space:


We partitioned out this space into a bonus room and a storage/utility room. The bonus room would eventually be almost a square, coming in around 12' x 13'.

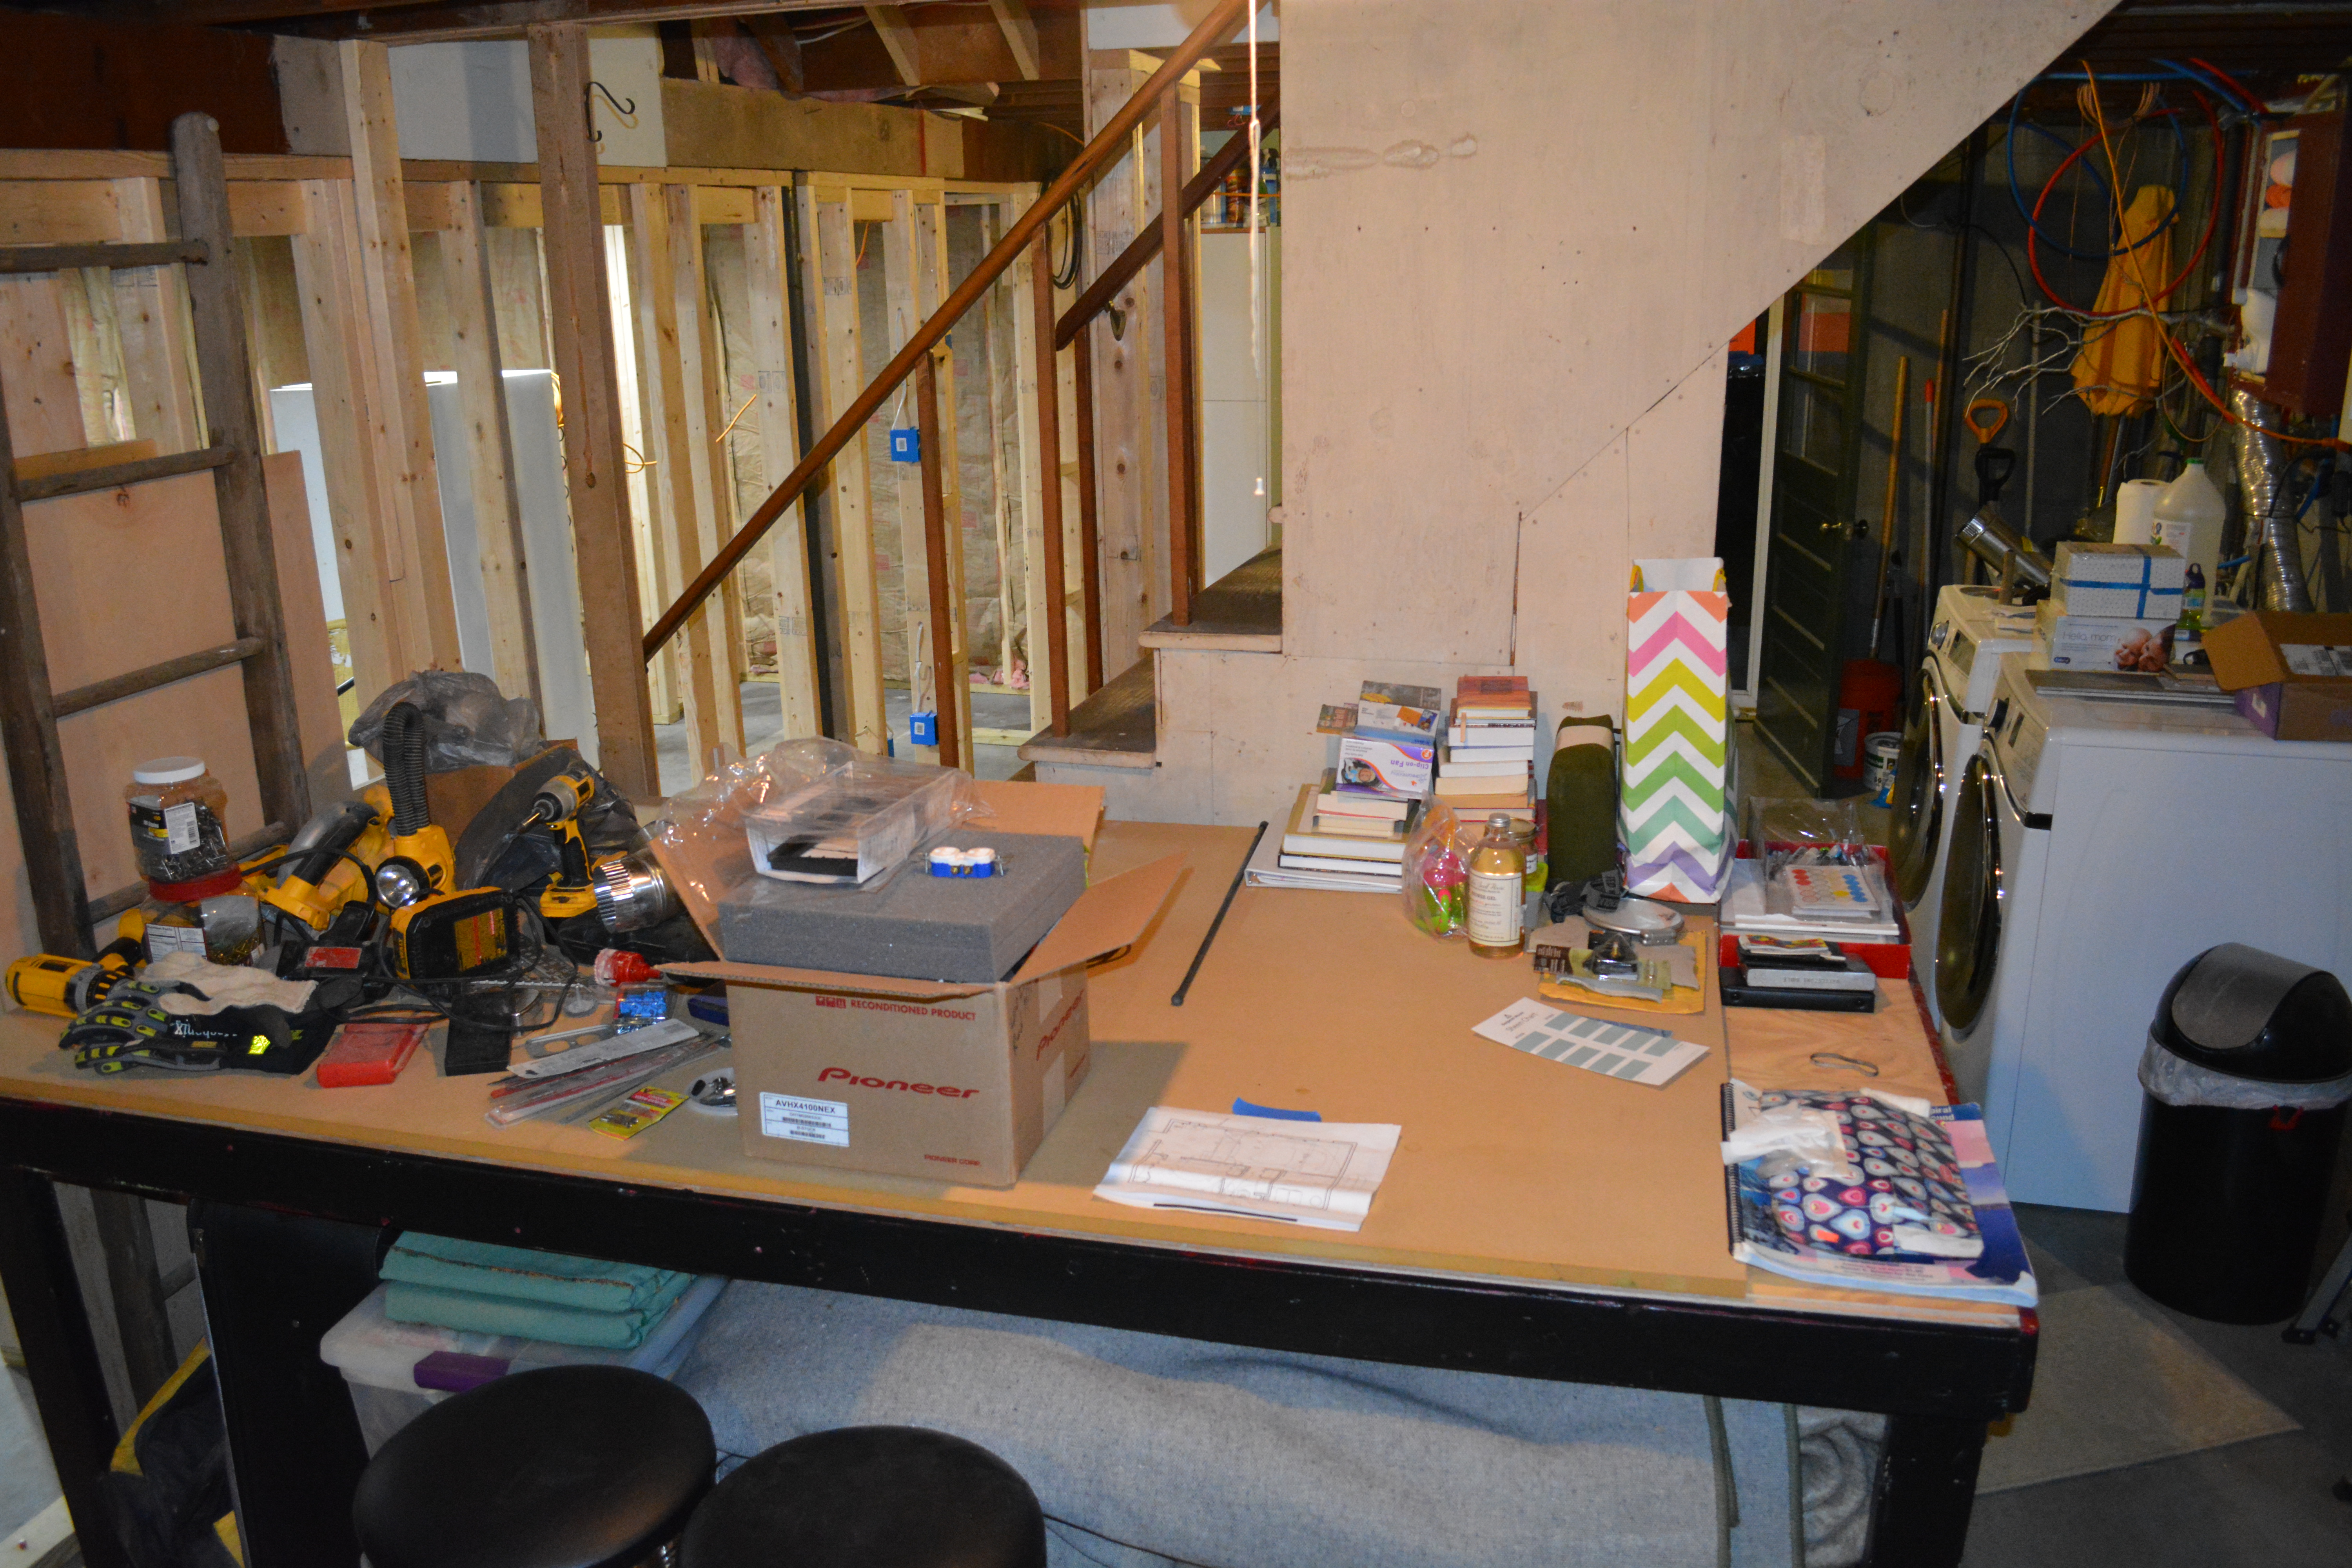
September 2016, after our second child was born, we were working towards getting room footprints established. Here's a trippy photo looking from the bonus room towards the staircase and mudroom beyond:


By August of 2017 we had added stud walls, drywall, mud and tape. Here's Gabe working to close up the gap between the storage room and the bonus room (it can double as an extra guest bedroom):


Here, it's all closed in:


It will be getting a louvered door since the HVAC return is in that room and needs to be able to circulate.

Looking towards the doorway under the stairs, to the mudroom:

Not a whole lot was done in this room besides running electrical wires and plumbing through this room for years (why we had the ceiling open for so long) through the two substantial additions we did upstairs.

So that puts us in the year 2020, when we added vinyl flooring to the lovely concrete floors, simultaneously to the mud room. The first stretch, running from the mud room all the way through to the wall of the storage room on the other side:


It was a really interesting game of musical furniture:


Here you can see the louvered door to the storage room:


The door on the right leads to the downstairs bathroom. 

A really quick jog into the storage room for a sec to show the shelves that Gabe built this summer as well:


Moving on to the painting job in the Bonus Room:


Gabe was able to get a daybed on FB marketplace for half the price we were seeing it at Ikea. Score!!

Putting it together:


And then another favorite moment for me--seeing the exterior window be replaced! That thing was nasty! I'll let you in on a little secret--Gabe wanted to drywall over this window!! Granted, it's under the deck and lets VERY little light in. BUT, I just wouldn't have it! Gosh, I wish I would have gotten a close up of the nasty thing. It was not plumb, it did not have clear glazing and was not very efficient. Here's the hole where it once was:


Next is an after picture of the window combined with Gabe installing the last of the ceiling panels around one of the recessed cans:


Ahh....covering up all those wires and joists is such a welcome change!!!

There will be a trim detail to hide the panel seams, eventually.

Here I am painting the first coat on this interior door:


I would say less than half of the trim in this room is caulked and painted. So we have some finishing work to do!

The built-in's are almost all from Ikea. This bookcase, this bookcase, a bridge shelf, a desktop and a storage shelf (without its doors) acting as a partial base for the desk:


This is where I wanted to have a little bit of fun with before and afters!

Similar angle, before:


And another, after:


Similar angle, before:


One more comparison:


Similar angle, before:


And one last after pic:


We are very grateful for our new Bonus Room/Guest Room/Mommy Cave/Man Cave!!!

And that's a wrap, for now!


Thursday, March 12, 2015

2nd house Updates! Bathroom projects

Moving on to the bathroom.  our only bathroom.

Check out the upstairs floor plan from the last blog on the house here to find your way around.

This is how the bathroom looked when we bought it:


A sight for sore eyes!!!!  HA!

I would like to think I have improved it at least some!  :)

So the elephant in the room is the peach tile.  We are leaving it there.  Too much work for cosmetic updates!!  It is still functional and I can make do.  I like a challenge!!

One of the first things we did was take out the medicine cabinet.  It was old and rusty, yuck!


After taking out the medicine cabinet, Gabe removed the theatre lighting above.  He patched the hole to fit the new one we bought.  Here's the patch job and the new, fresh white paint.  Ahhhhhhh.


Here's the link to the new medicine cabinet.  In order to minimize the amount of work done patching the wall, we installed one that was pretty close to the size of the original one.  I must say, it is an unpopular shape to come by, and not very conducive to tall husbands!!! :D  The patching was done in tandem with painting the room white-same white as all the trim in the house--same sheen too: semi-gloss for ease of cleaning and moisture wicking.

There was a spot on the ceiling up in the left corner where there looked like there had been a small leak and paint chipping, so Gabe tested it for lead, found it was, and so he took precautions to patch up the area, sand and repaint, sealing it up.


Took care of it!  Yay!


Here's the medicine cabinet and light fixture all installed:


The next part of the bathroom "reno" happened really fast: installing the black/white vinyl flooring (same as the kitchen), new toilet, and new vanity.  We did the work (ok, Gabe did it, I watched Judah) on a long Saturday.  I seem to remember needing to make a quick trip to Home Depot to get the right plumbing part in a rush.  Here's a few pics of the process:

Flooring going in (we had to do this in tandem of the installation of the toilet and vanity so that it would go under--this was tricky):


Toilet being removed:

old toilet, GROSS!!!!!

Let me not forget one of the things we did to prep over the summer: removing the caulk from around the baseboard tile and the linoleum floor.  This was not easy work, scraping at awkward angles, and trying not to peel up too much of the linoleum so the vinyl would have an even substrate.  Here is Gabe scraping it up behind the toilet:


Here is the NEW toilet!


After Gabe removed the old vanity:

Eewe!!!
And new vanity:


Yay!!!

I chose bright white for the vanity and the toilet because there is so much color in the bathroom already (peach tile and my bright color scheme with accessories).

Cleaning the yucky plumb lines:


Gabe, configuring plumbing, combining new with old:


A new plumbed sink!  (and toilet!!):


Ahh so fresh :)

A closer look at the newly laid flooring:


Aaaannnnndddd some additional shots with it decorated a little bit zany (I'm a little bit zany!):

The shower curtain:


Looking towards the door:


Looking towards the window:


I still had some work to do on the curtain, shown above, but shown below you can see the work that I did on it (yes, I made my curtains!  And yes, I love teal!!):


This color palette is not for everyone--I like color!!  I figure, I better surround myself with the colors that I love before I grow up :D

To recap, my design inspiration for this bathroom (taking the challenge to incorporate the crazy old peach tile):

http://www.hgtvremodels.com/interiors/pink-bedrooms-8-fresh-ideas/pictures/index.html
It combines the peach color with different shades of green (lime green and teal green predominantly), and it has black and white in it, which are being weaved throughout the house.

And to recap my design/decor sources:

Armstrong Banbury Self Stick vinyl tile 12" X 12" flooring: at Menards-link here

White Aquasource Tristan White toilet (elongated, comfort height): Lowes-link here

Abstract shower curtain: on Etsy-link here

White vanity: at Home Depot-link here

Chrome medicine cabinet: at Lowes-link here

Vanity lighting: Lowes-link here

Teal mirror: at Hobby Lobby-link here

Floor mats: on Amazon-link here


Tuesday, February 12, 2013

Moving Forward with Millwork: Cabinets

The weekend of the 26th of January, we had Gabe's cousin Andrew in town.  What fun we had together!!

During the week, cabinets arrived and sat piled in the living room.  


The reclaimed heart pine flooring that we had taken to a local lumber shop to get planed down also arrived.   


So, needless to say, the living room was full of stuff to install!

Before showing pics of the installation of the cabinets, here are some perspective drawings of the kitchen that show the layout of the cabinets and a representation of the finishes and materials used.

North facing view:


I have to mention a small change that has been made since I drew these--the primitive looking shelves next to the pot rack will be an open glass front cabinet instead.  It will save Gabe the time to have to make the shelves and the glass front will be nice, but so would the shelves have been!  Oh well.  Something about having a panel to cover the microwave and side of the cabinet above to give a cleaner look.

East facing view:


South facing view:


We are planning to have stainless steel appliances, a porcelain farmhouse sink, and oil-rubbed bronze hardware.  The countertops will be poured-in-place concrete with a gray/green/blue colorant added.  The backsplash will be in small natural slate pieces in a brick-type pattern, all different sizes.  This is a picture from the manufacturer:


So excited!!  It should look great together.  The fireplace surround will have a dry-stack slate stone like this:


Here is a computer rendering of the fireplace wall:


It won't look exactly like this--it's only a general representation of the space.

This is as close as I could get to an actual shot of the space of the fireplace:


The stone going down in the entry foyer area and both bathrooms is this 12" X 12" natural stone floor tile:

I digress.  More on other finishes later.  Back to cabinets!

The first thing we did upon arrival on Saturday was investigate why the newly installed HVAC unit wasn't working.  We also didn't have power.  Gabe ended up finding one outlet upstairs that was still functioning.  So we promptly plugged in our propane heater because it was cold!!!  Mom & Dad arrived soon after we did and had called our electrician to come over and check out the situation.  Well, come to find out later there was a circuit breaker that burned out due to a stink bug infiltration early on. It's too cold for stink bugs to be around now, but when it was first installed it was much warmer and the little stinkers had better access to it than they do now.  A bunch of them were dead in the electrical box and shorted out the circuit...apparently they were popping like popcorn in there!!!  Must have stunk....

Gotta love those little surprises along the way.  We stuck it out with our little propane heater for one more weekend...  again, back to cabinets.  :)

The guys started by "sorting" the cabinets according to where they belonged in the house.  Additional to the kitchen cabinets, we also bought cabinets for a built-in vanity and linen closet for the upstairs master bath, and one for the upstairs washer/dryer closet.  So they carried the cabinets upstairs and re-arranged the cabinets downstairs so we could start hanging the upper cabinets in the kitchen.  It is better to do the uppers first so that you don't have the lowers in the way while trying to install them.

While they were doing that, I was going around to different spaces and painting on paint color samples to get a feel for the different options I had for each space.  That was fun for me, since I was starting to get to apply the vision for the interiors.  I will share in a different blog post more detail on the inspiration of colors and style of the house.

Here we are getting organized in the kitchen space:


The paint samples are in the upper left hand corner of the picture.  Fyi, neither of them is going to work.  The one on the right is too dark for what I am going for, and the one on the left has too much orange in it and looks neon to me.  They are as follows:


Gabe and Andrew started hanging the left upper corner cabinet first.  It is important to start with the corners first so that you aren't working yourself into a corner with a potential for wrong measurements and ill-fitting cabinets.  They attached the cabinet to the left to the corner piece so they could hang them together more easily.


There is a 2" X 4" temporarily attached to the wall under where the cabinets are being hung to use as a guide and support.


Notice the soffit on the ceiling to guide them.


Is it level?  Plumb?

I also helped them determine the best way the hinge should go, because once it's hung, it can't be changed.

Meet Andrew.

Yes Andrew, we know you're a stud.
That tool Andrew is holding is a "stud finder".  It helps locate studs behind the drywall since the cabinets need to be attached to the studs in order to be sturdy enough to support weight of storage.

Next one goes up:


And then the next one.


This is as far as we can go on this side since we need to wait for the exhaust venting duct for the stove to be installed first before we install the cabinets above the stove.


On this side, there is a 12" next to the window, with a 24" corner cabinet, then a 9" spice pull out cabinet, and lastly a 36" wide cabinet that will be next to the stove/range/microwave.  The wires hanging down are for under-cabinet lighting.

They move to the cabinets on the right side.  First they attach two together:


Then hang them.


One more 12" cabinet and that's all for today.

Next week is all about preparing the wood floors!  Stay tuned....