Onward to the kitchen.
Last summer when I wrote, we had painted the kitchen cabinets, stripped & resprayed the handles and were working to lay a black and white checkered vinyl flooring tile.
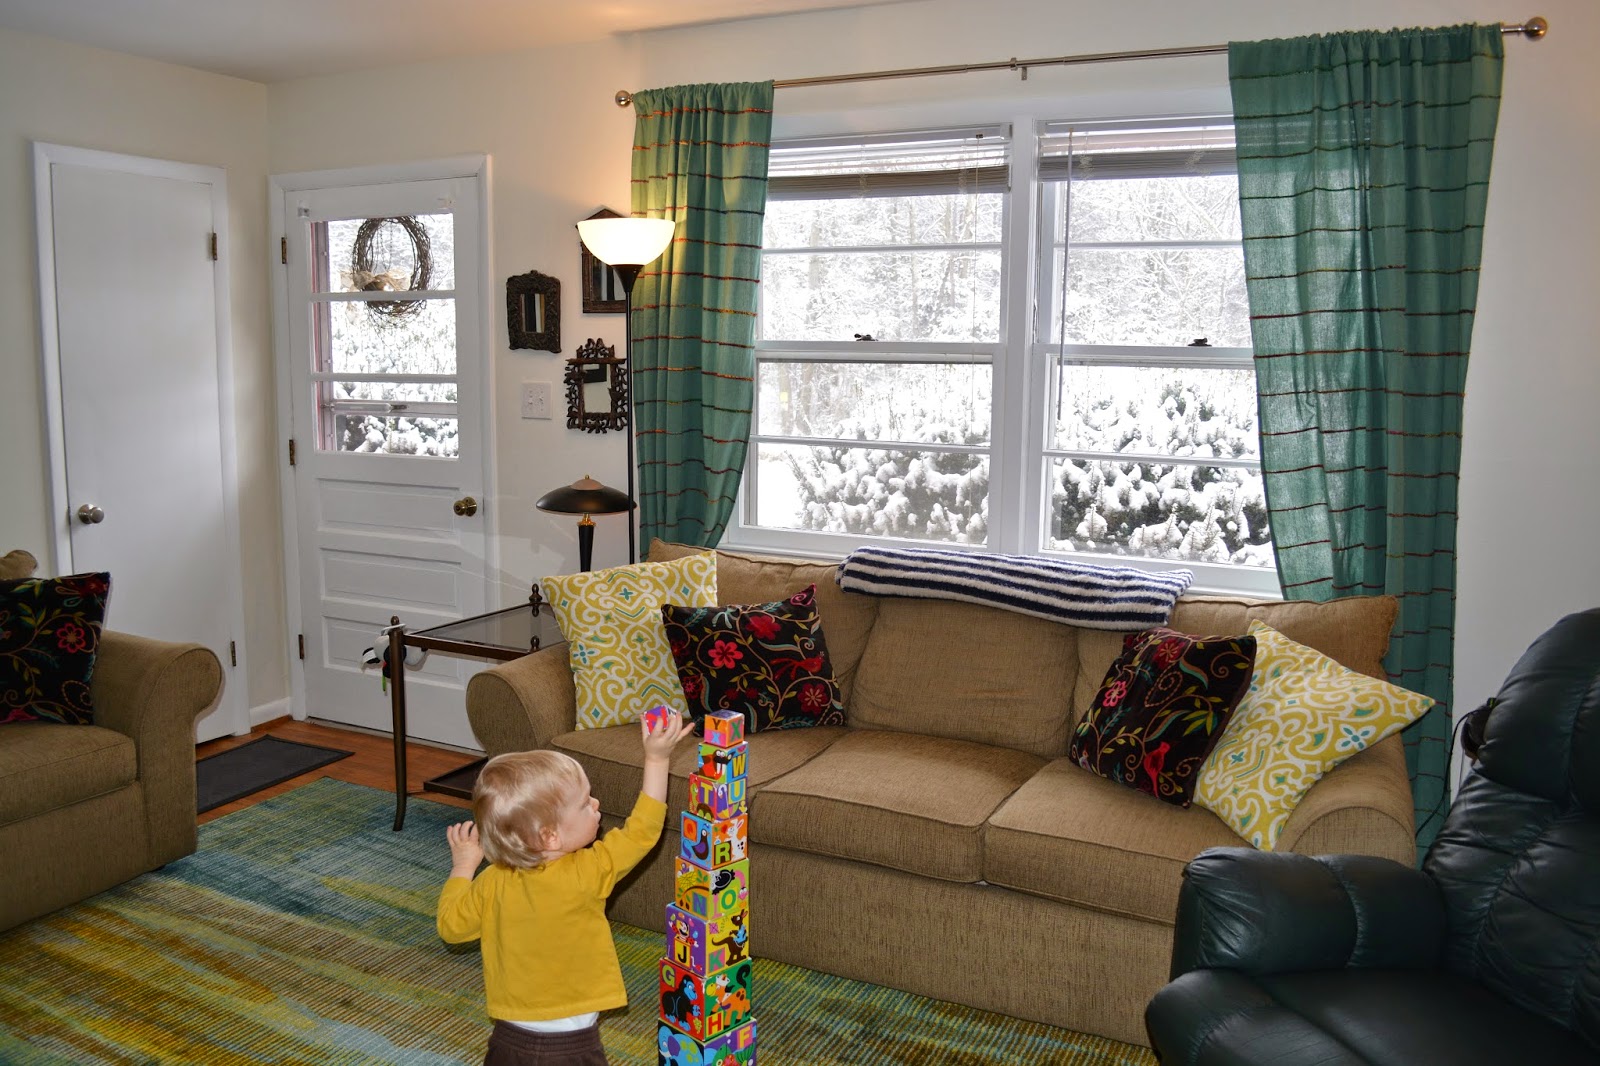
Check out the upstairs floor plan from the last blog on the house
here to find your way around.
A reminder of where things started for us:
Where we left off last time:
This was all before we moved in last July. We were scrambling to "finish" the kitchen before moving in. It was already functional, but we had gotten a dishwasher for free from a friend that we wanted to install next to the refrigerator on the opposite wall. Also, the space had no existing pantry and I wanted to add a bit more storage too. When all was said and done, we added a butcher block countertop, more cabinets, dishwasher, microwave cabinet, and pantry.
Here we go! This is our process.
Some of the parts of the puzzle:
 |
| dishwasher laying on floor, 24" upright pantry and 24" base cabinet |
Before beginning, Gabe had to do some creative work with electrical. The existing outlet above where the counter was going to go was connected to the refrigerator, so adding a microwave to that wasn't going to be able to bear the load, so Gabe added another outlet/circuit nearby (ended up being hidden behind the microwave). So before we could put the fridge back in it's spot, Gabe had to get all the electrical squared away.
Then Gabe moved the refrigerator back into its place in the corner:
Then a dry fit of the base cabinet and dishwasher in place next to the fridge:
And then dry fitting the butcher block countertop and pantry:
This really was a puzzle that just so happened to work really well. The low profile pantry we already had, the countertop we bought was 4' long which worked with a standard 24" base cabinet and a 24" standard dishwasher. The cool thing is that we had about an inch or two to spare along that whole wall :)
The butcher block was originally a table top that Gabe removed the legs from and gave it a good sanding and reinforcing of the individual slats.
The upper cabinets worked out too, because we already had the wall cabinet box from the first house project--we just needed to buy a door-so I decided to go with a glass door :) And since we don't have as much countertop space to begin with, we decided to buy a microwave cabinet shelf, which fit nicely above the base cabinet.
Upper cabinets installed:
Then, Gabe worked to install and hook up the water line for the dishwasher that was going in.
Shown below, Gabe is almost done with the installation of the base cabinet and countertop support installation:
Also, the original outlet has been patched over because it fell right where the countertop was going and had to be moved up a few inches to be accessible once the countertop was secured in place.
Nearly finished, the kitchen, even though it isn't as much of an eat in kitchen still has an open feel to it. A bistro table will eventually go under the window as an attempt at a partial eat in kitchen. Around the corner from the pantry is the basement door, so there must be enough clearance to pass through comfortably.
Lastly, I bought handles like the ones we already had and spray painted them to match to bring cohesion from the old to the new.
It was at this point that we could move into the home because this was the last thing that
needed to be done before we could do so.
Much later (months later) we were able to take the time to work on the backsplash. This was a winter activity, since it would be solely an indoor job--not taking up valuable warm weather projects time. I believe we tackled this around Thanksgiving break.
I had bought
these a while back:
I somehow don't have too many in process pictures, but here is one:
The hardest part for Gabe was all the cuts he had to make with a utility knife around the cabinetry, outlets and exhaust fan:
And ta da! I present to you the finished backsplash. I like it!
I especially like this paired with the vintage stainless steel edged laminate countertops! :)
And a detail shot:
 |
| we bought stainless steel outlet covers too |
And, I don't know how I forgot to get a good before shot of the awful condition this exhaust fan was in before we spruced it up!
It was caked in many layers of paint and grime, so Gabe stripped the paint and sprayed it with a fresh new coat of paint and added new screen behind it as well.
I think this is a mighty fine transformation if I do say so!!
Additional shots of the fan:
And a view of the other side of the kitchen with the same backsplash tile to pull it all together:
And you can see that the countertop is all oiled up and ready to go with a walnut oil/butcher block oil to keep it from getting dried out.
The last update we made to the kitchen is the light fixture. What we had was a ceiling flush mount fluorescent light. This is the only picture I could find as a "before" pic of it:
This is what we came up with--a semi-flush mount light fixture with diffused ambient light for the kitchen:
Now to share a pic of the bistro table I bought for under the window in the kitchen:
The succulent plant stand is temporarily taking up space in the kitchen during the winter (so it doesn't die). The table fits very well into this space--a perfect place to park and eat a quick meal in front of the window :)
Here is another view of the table, showing a little bit more context:
A corner of the pantry can be seen on the right as well as a door leading to the back yard.
The curtains on this window (and over the kitchen sink) I adapted from scarves that I bought at Pier 1 Imports. For this one, I had a wide sheer curtain that I cut in half, hemmed one side, and attached the scarf at the top. The only problem (that I still need to fix) is that even though I did both of the sheer pieces (seen behind the scarf) the same length, when they were both done and hung up on the window, I noticed that the scarves were different lengths...something I didn't consider as a possible problem initially, so I'm still scratching my head about how I might fix it. Or I might just leave it because it's barely noticeable!!!! (but I notice..) :D
Moving around the corner for a closer look at the back door, you can see the curtains I made:
From the basement stairwell looking up:
This photo was taken from the top of the basement stairs looking into the kitchen:
You can see the profile of the bistro table from this vantage point.
For the curtain swag over the kitchen sink window I used the same scarf idea from the other window and had a sheer checkered (gingham-esque) curtain that I got that pairs up with the scarf swag quite nicely. It is literally just draped over the curtain rod--nothin' fancy :)
Here are a couple more detail pics of the kitchen space--a few fresh herbs stayin' alive: basil and rosemary along with some beautiful roses from my sweet husband ;-)
Here's a pretty cactus flower by my sink that I got from a large community yard sale last spring along with some succulents chillin' on the sill:
Notice the condensation on the windows. This is what single paned windows do. Who knew? It's absolutely gorgeous when it crystallizes in freezing temperatures and the morning sun hits it. Yes.
And that is a wrap for the kitchen space!